Guacamole - OIDC integration
This page guides you to integrate TrustBuilder MFA with Guacamole through OpenID Connect. Guacamole’s OpenID Connect support implements the implicit flow.
See Generic integration - OpenID Connect (OIDC) for basic information about OpenID Connect in TrustBuilder.
Prerequisites
You should install and configure Apache Guacamole,
You should install OpenID Connect authentication extension for Guacamole
Configuration
To configure TrustBuilder MFA with Guacamole through OpenID Connect, you should set up an “OpenID Connect” connector in TrustBuilder and provide the TrustBuilder information to Guacamole in order to communicate with TrustBuilder. You should set the same parameters in TrustBuilder connector properties as in the guacamole properties (in the Guacamole configuration file).
Read the following instructions to see how to proceed.
Creating OIDC connector in TrustBuilder
Log in to the TrustBuilder MFA administration console.
Go to the Secure Sites tab.
Choose to add a connector of type “Open ID connect”.
Configure the connector settings:
Setting | Description |
Connector name | A chosen name / information to define this connector's goal. |
Client ID | Unique client identifier that will be used during authentications. |
Login Type | Indicates whether the login used during the connection should be retrieved in the login field, the email field or the login 2 field. |
Client Secret | Not used |
Validity period of the token (optional) | The maximum amount of time that the token should remain valid, in seconds.  If you set a different value, you should also edit the guacamole configuration file: set |
Default Authentication URL | Select the default authentication method to use on the authentication page served by TrustBuilder:
To protect users from attacks such as Push Bombing, we recommend selecting the QR code authentication. The QR code authentication method does not use push notifications, therefore it does not enable a push bombing scenario. More information about protecting users from Push Bombing attacks |
Scopes | Determines the claims (or information) returned within the OpenID token. Note that the In Guacamole properties file, the default scope used is “ 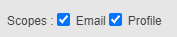 If you set another configuration, you should also edit the guacamole configuration file. For example: if you check only “profile” case in connector properties, you should set the scope to “ |
Click on Add to create the OpenID Connect connector.
The connector creation automatically generates a connector alias, a Discovery URL and a secure site alias. These elements are displayed on the top of the connector properties.
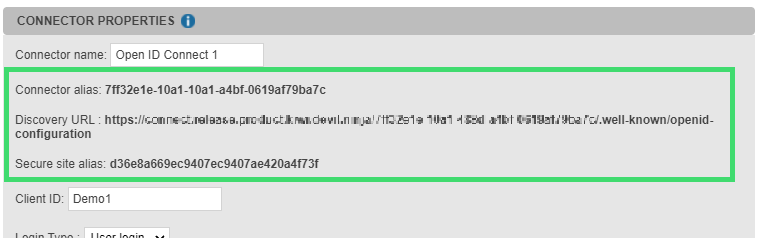
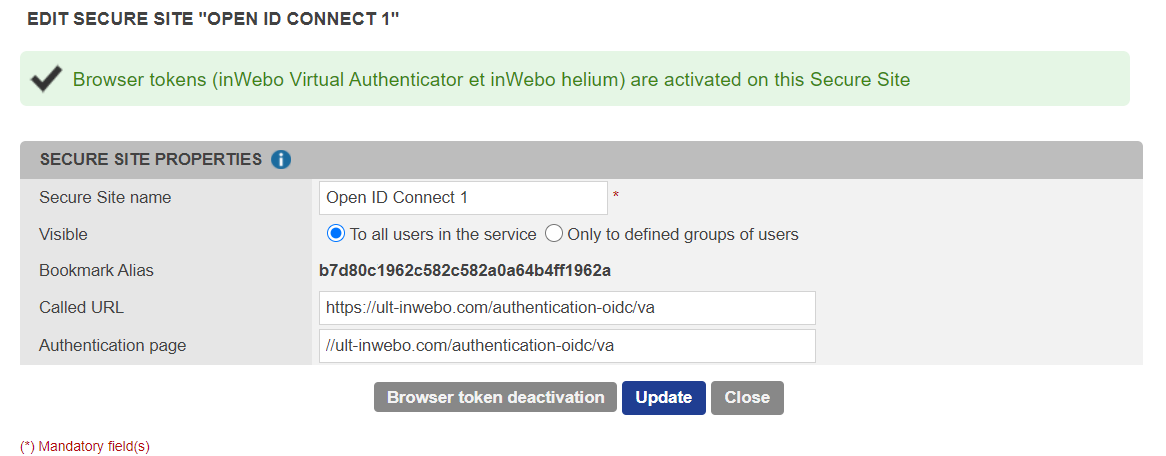
The associated secure site is automatically generated (in Secure sites tabs).
Configuring Guacamole properties file
You should provide TrustBuilder metadata to allow TrustBuilder and Guacamole to communicate.
TrustBuilder metadata can be retrieved at the Discovery URL. They should be added in the guacamole.properties file which is Guacamole's main configuration file.
These properties dictate how Guacamole should connect to the OIDC provider, how it should verify the OIDC provider's response, and how OIDC provider should redirect users back to Guacamole once authenticated.
The following properties are required:
openid-authorization-endpoint→ The TrustBuilder OIDC authorization endpoint which is used to initiate the OIDC authentication and authorization process.openid-jwks-endpoint→ The URL of TrustBuilder JWKS which allows to retrieve the public keys. These keys are used to verify the signature of the JSON Web Tokens (JWTs) issued by TrustBuilder.openid-issuer→ The base URL of to reach the issuer of OIDC tokens (TrustBuilder)openid-client-id→ the unique client identifieropenid-redirect-uri→ The URI that should be submitted redirect users back to Guacamole once authenticated.
openid-authorization-endpoint=https://connect.myinwebo.com/YOUR_CONNECTOR_ALIAS/authorize
openid-jwks-endpoint=https://connect.myinwebo.com/YOUR_CONNECTOR_ALIAS/jwks
openid-issuer=https://connect.myinwebo.com/YOUR_CONNECTOR_ALIAS/
openid-client-id={YOUR_CLIENT_ID}
openid-redirect-uri={YOUR_GUACAMOLE_CLIENT_URL}
You can get your connector alias and the discovery URL by editing a created OpenID Connect connector.
Other properties are also available. They must be configured according to the configuration of the connector set up in TrustBuilder:
openid-scope→ The space-separated list of OpenID scopes to request. It should match the connector’s “Scopes” setting:openid-scope=openid email
openid-scope=openid email profile
openid-max-token-validity→ the maximum amount of time that the token should remain valid. It should match the connector’s “Validity period of token” setting.
Test the OIDC connection to TrustBuilder
To test the OIDC connector the most important entry is the authorization_endpoint. You can retrieve the authorization_endpoint value in the JSON file returned by the Discovery URL.
In the example below, the OIDC flow is implicit with reponse_type=id_token. Only an ID_token will be issued
Set up a simple HTML form posting to the authorization_endpoint URL to initiate the authentication dialog with TrustBuilder.
Example of form:
<form method="post" name="logon" id="form"
    action="https://connect.myinwebo.com/168d150b-c1e4-459d-b1ca-e142a8150861/authorize">
    <input name="login_hint" value="login">
    <input name="iw_activation_code" placeholder="activation code">
    <input type="hidden" name="redirect_uri" value="result.html">
    <input type="hidden" name="client_id" value="MyOIDC">
    <input type="hidden" name="response_type" value="id_token">
    <input type="hidden" name="response_mode" value="query">
    <input type="hidden" name="scope" value="openid">
    <input type="hidden" name="nonce" value="asdorj5">
    <input type="submit" value="Connect" />
</form>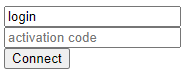
After posting the form you should be redirected to the TrustBuilder MFA authentication page of the connector. Click on Activate this browser to allow your browser become a trusted device.
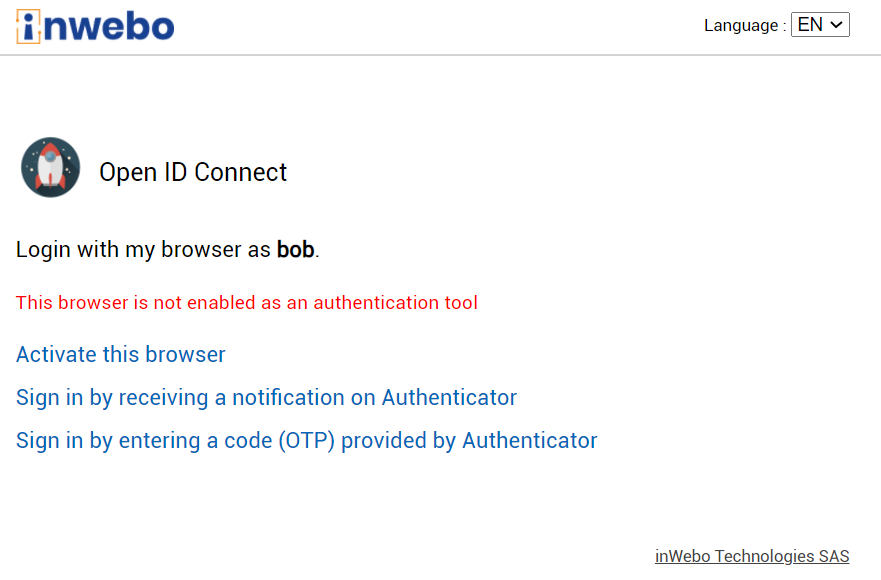
Example of TrustBuilder MFA authentication page before activation
After browser token activation, you should be able to authenticate.
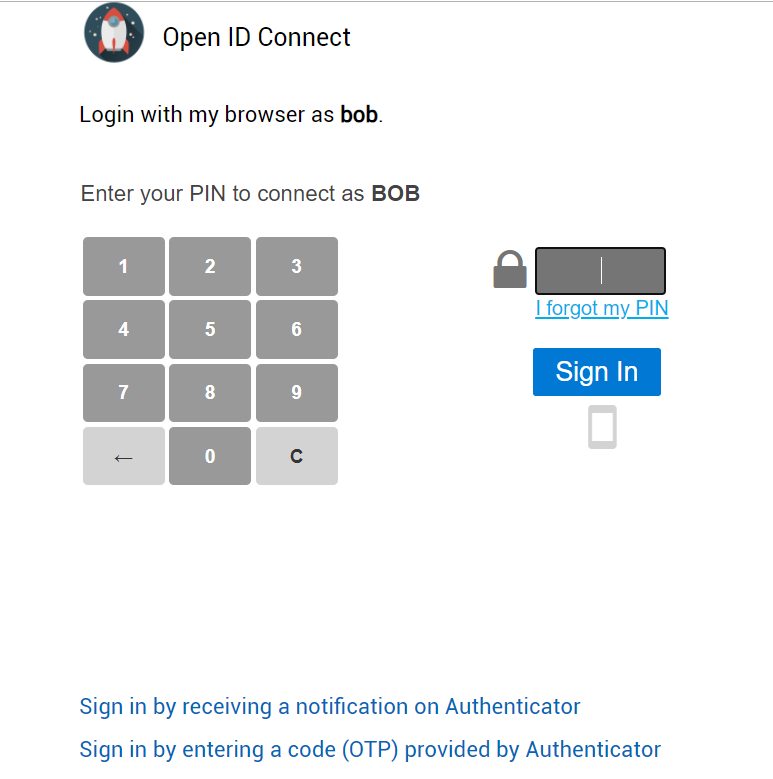
Example of TrustBuilder MFA connection page after activation of the browser token (Virtual Authenticator)
After successful authentication, you are redirected to a page specified in the
redirect_uriof the sample form above.
Here is a sample page to retrieve the result of an OIDC authenticationCODE<html> <head> <script> function getUrlVars() { var vars = {}; var parts = window.location.href.replace(/[#?&]+([^=&]+)=([^&]*)/gi, function(m,key,value) { ; return vars; } document.addEventListener('DOMContentLoaded', (event) => { console.log("Dom loaded !"); setTimeout(getUrlVars(),500); }) </script> </head> <body> Authentication successful </body> </html>Open the JavaScript console and see the result of the authentication under the form of a id_token encoded and encrypted.
The ID_token returns information about the authenticated user, the Client ID, the issuer URL (TrustBuilder), a creation date, an expiration date and a nonce.
Here is a sample ID_token:
eyJraWQiOiJBRFJrQ1VrWXVibHJoUTVYeEFUYUhNT25LclNnRHVHWVRvUExUbHdoSE40IiwiYWxnIjoiUlMyNTYifQ.eyJzdWIiOiJib2IiLCJhdWQiOiJNeU9JREMiLCJpc3MiOiJodHRwczpcL1wvY29ubmVjdC5teWlud2Viby5jb21cLzE2OGQxNTBiLWMxZTQtNDU5ZC1iMWNhLWUxNDJhODE1MDg2MVwvIiwiZXhwIjoxNzEzMTkwMDU4LCJpYXQiOjE2MTg1ODIwNTgsIm5vbmNlIjoiYXNkb3JqNSJ9.JcnBuWBiU8zgOVWb4OPSlwapcGgJJcoTjwX2kJZsCR3ZM2XVsUwnamrYhEOXP_lsmLytSmk5BesIsv6VZl1RYXkLYQu4IRDxE2bRByfZ5F8MW_OdEYobpa47BXRaveDPHTWZQnkOpxROYgtGRIHHByz1DAak-PWKx5FA_7WH11g4eD5_7FDkZyGqfswFjdVOsnfPDZw9ICkP2QQnVyS8-kcuxUewLZI1YgjUF9abmrm2Rb8Pp2FBcmIsoFP9LeFGBNB7OisM1TieKtmSuU7C2cozSWeTZ0g8rrtIVYVlt2jWgjRmfpXJXF3PZi1QsqAjOkHF0mZAkN6giE52d6gRpwYou can decode this id token on JWT.IO.
Let's see the payload returned once the id_token is decoded:
{
"sub": "bob",
"aud": "MyOIDC",
"iss": "https://connect.myinwebo.com/168d150b-c1e4-459d-b1ca-e142a8150861/",
"exp": 1713190058,
"iat": 1618582058,
"nonce": "asdorj5"
}