Stormshield (NetASQ) - RADIUS integration
This is the procedure to integrate inWebo multi factor authentication service with "Stormshield" RADIUS authentication.
General Principles
InWebo strong authentication service supports many built-in interfaces such as RADIUS, SAML 2.0, Web Services API, Google Apps and many more. When working with a network device (firewall, reverse proxy,…) the preferred method is RADIUS. This is what we will explain further in this document.
Architecture is described below:
Users can download and manage InWebo tokens by themselves. In order to get the whole system up and running, your company system administrator only has to:
Configure Stormshield authentication portal with RADIUS (5 min)
Create an InWebo account (2 min)
Download, install and activate one of InWebo tokens (4 min)
Configure RADIUS connector in his InWebo account (2 min)
Perform a test authentication (1 min)
Basically, the whole system can be up and running in 15 minutes.
Configure authentication portal on Stormshield
In this example, we will take for granted that you already have a Stormshield firewall up and running.
If so, you will need to:
Create RADIUS Servers objects
Configure VPN SSL
Configure Users and Groups to use RADIUS Authentication
Connect to your Stormshield Administration interface. Go to “Objects” select "Network Objects" and click "+Add", and create 2 new objects called radius-a.myinwebo.com and radius-b.myinwebo.com:
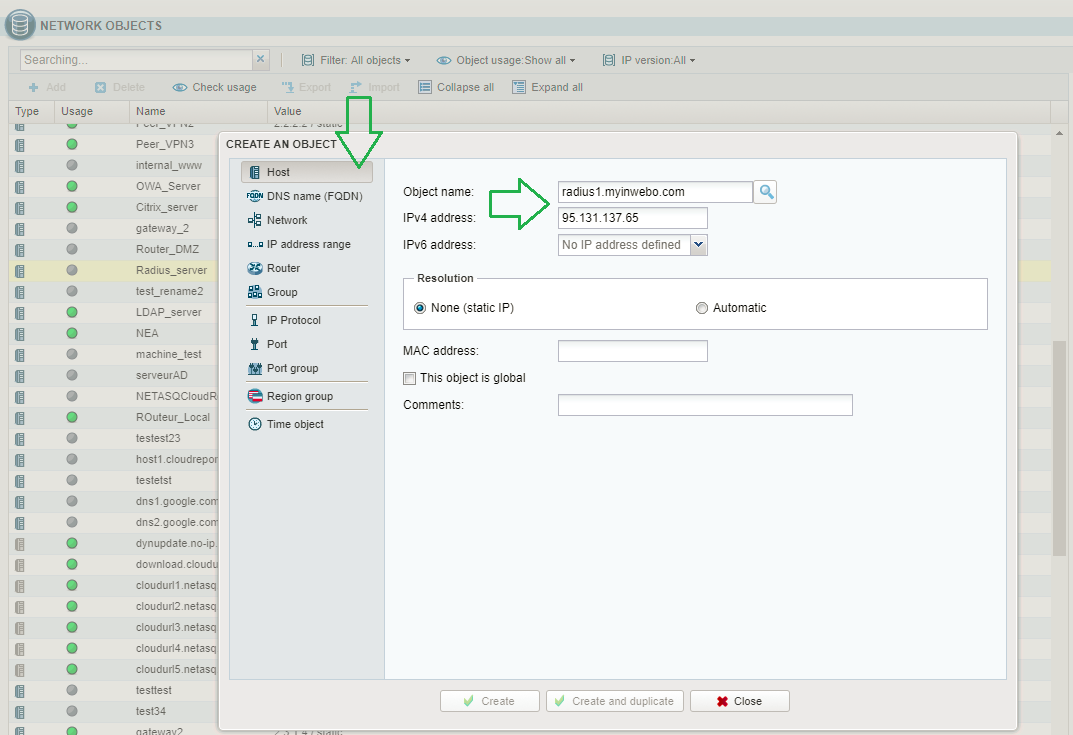
inWebo Radius server addresses :
Primary: radius-a.myinwebo.com (95.131.139.137)
Secondary: radius-b.myinwebo.com (217.180.130.59)
(See RADIUS integration and redundancy for additional details and configuration)
Then, go to VPN / SSL VPN. In “General”, enable SSL VPN. 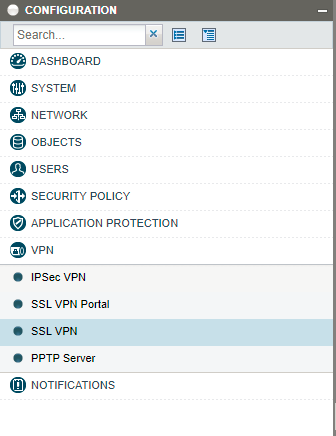
In this section, configure Web Servers, Application Servers and User profiles according to your needs.
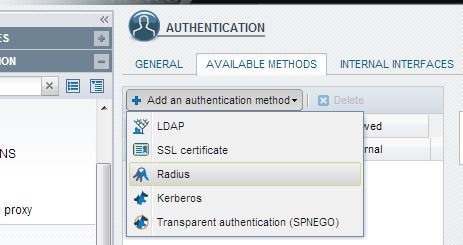
Then, go to Users / Authentication. In “General”, Enable Captive Portal. In “Available Methods”, Add a RADIUS authentication method:
This authentication method needs to be configured with the 2 RADIUS server objects you created earlier. At this stage, please choose the RADIUS secret which will be shared with InWebo servers (this is a string that will be used to cipher the RADIUS requests).
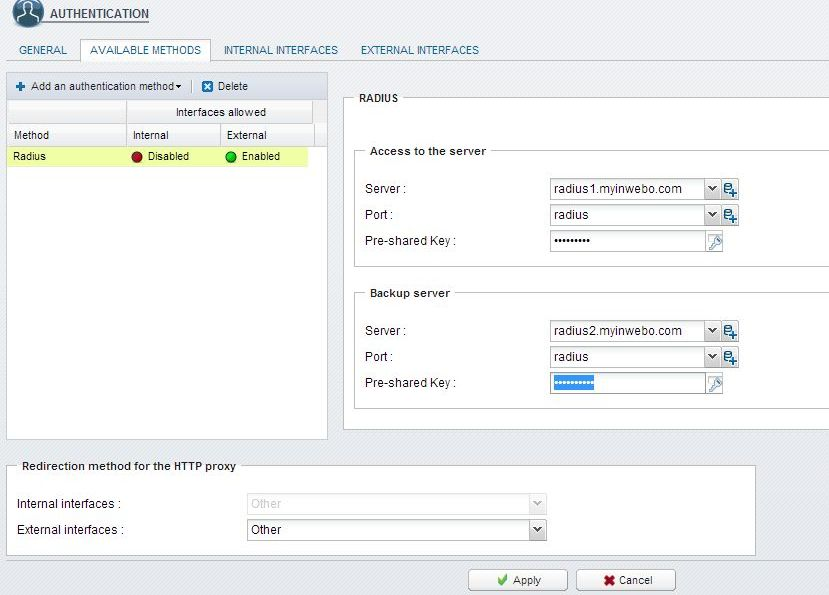
Click “Apply” when you're done.
Then, go to Users / Users and choose “Add Group”. Give it the name “inwebo-users” and insert the users you want.
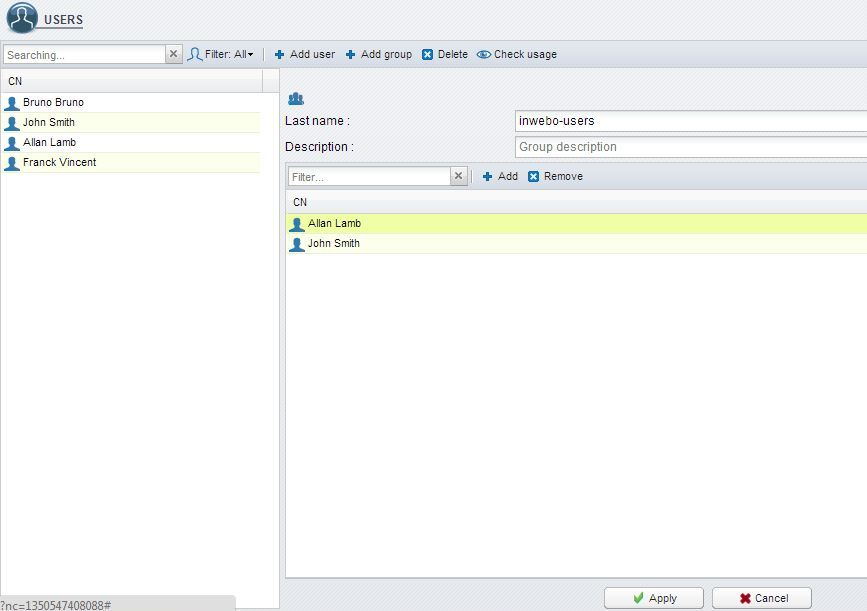
Click “Apply”.
Then, go to Users / Access Privileges. In “Detailed Access”, add a policy for the group “inwebo-users” to access SSL VPN with RADIUS authentication:
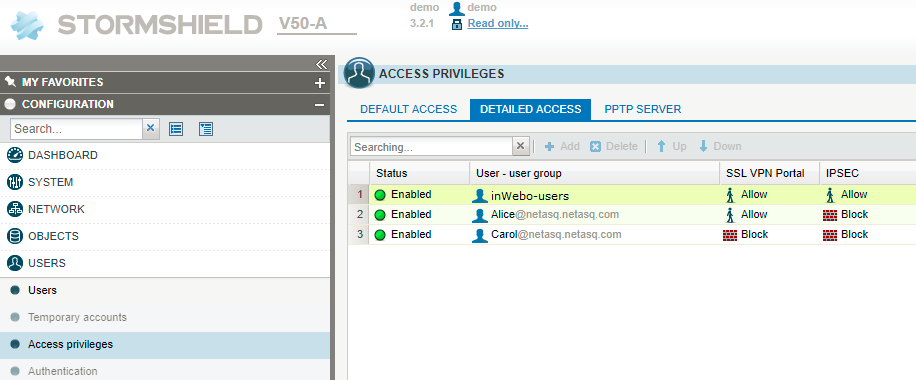
Click “Apply”.
Set the RADIUS timeout
To set the RADIUS timeout, enter the following command lines:
CONFIG AUTH RADIUS timeout=30000 retry=1 btimeout=30000 bretry=1
CONFIG AUTH ACTIVATEConfigure InWebo RADIUS connector
Connect to your "myinWebo" administration console.
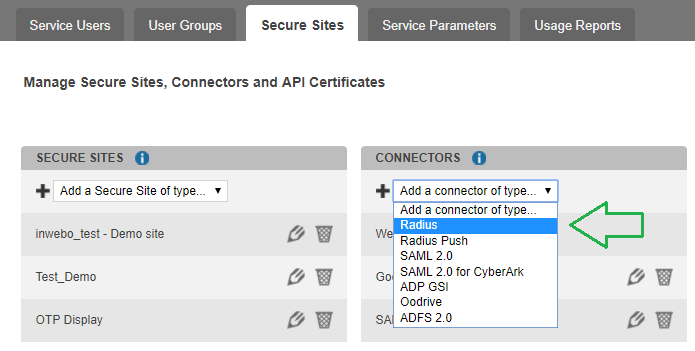
Once connected, in your Administration console. choose the "Secure Sites" tab and Select “Add a connector of type…”, and choose “Radius Push”:
The popup below will appear. Enter the public IP addresses of your Stormshield servers, along with the RADIUS secret you have defined earlier:

Your inWebo account is now fully configured.
Test Authentication
Launch your Stormshield client (or SSL portail), enter your login and one random character into the password field then you can connect.
Your user will receive a notification on their valid mobile or PC token.
Troubleshooting
Sometimes authentication via Radius may fail despite receiving an Access-Accept packet from the radius. The problem occurs during the first authentication attempt or after 30 minutes without any request to the radius.
The following xvpn log message will be found:
msg="Error during authentication : External authentication server did not reply"![]() This has been encountered for SNS appliances from 4.3.0 to 4.3.12 and SNS appliances from 4.4.0 to 4.5.4.
This has been encountered for SNS appliances from 4.3.0 to 4.3.12 and SNS appliances from 4.4.0 to 4.5.4.
To solve this problem we suggest a workaround (which has been tested on SNS version 4.5.3).
Connect via SSH and edit the
/usr/Firewall/ConfigFiles/Event/rulesfileAdd the following content:
CODE[ping_radius1] State=1 Start=* Period="5m" Exec="ping -c 1 -t 10 ip_radius1" #ip_radius1 must be replaced by the main radius object name [ping_radius2] State=1 Start=* Period="5m" Exec="ping -c 1 -t 10 ip_radius2" #ip_radius2 must be replaced by the backup radius object nameEnable both tasks by executing the following command:
CODEenevent