Administration Console V2
TrustBuilder MFA Admin Console is a web-based application that an administrator can use to configure, monitor, and manage a service.
There are two administration consoles available:
the console available through https://www.myinwebo.com/console/logon
the console v2 → it is currently under continuous development to gradually replace the console.
The following documentation refers to the Admin Console v2. Note that the database behind the consoles is the same. Thus, any data created or modified in the console v2 will also appear in the console, and vice versa.
Admin Console v2 Known Issues
White Label services are not supported
Custom roles feature is not fully operational for now
Only connectors of type OIDC and OIDC Azure AD are supported for now
Secure sites section is not yet available
The console v2 is has a preview status.
Prerequisites
An TrustBuilder MFA service activated
An administrator login for this TrustBuilder MFA service
The admin console v2 does not support Internet Explorer 11 (IE11)
Accessing the Admin Console v2
You can access Admin Console v2 from any web browser. Go to https://www.myinwebo.com/helpdesk/#/login to reach the administrator console v2 authentication page.
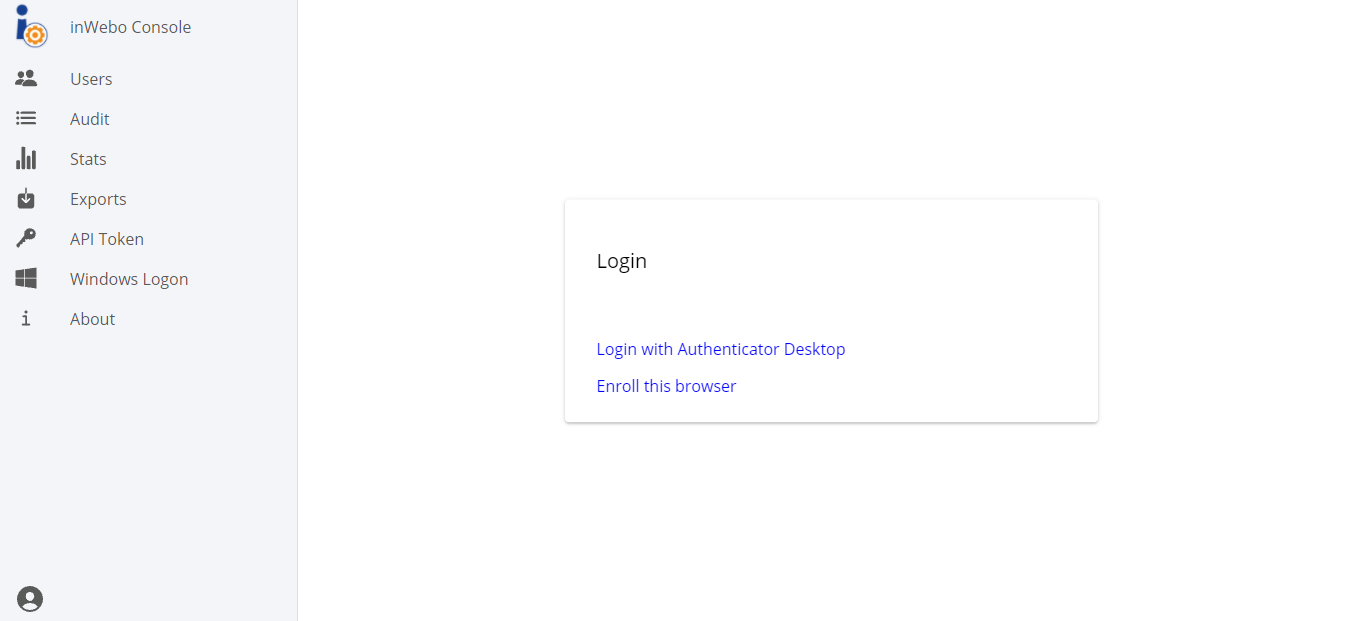
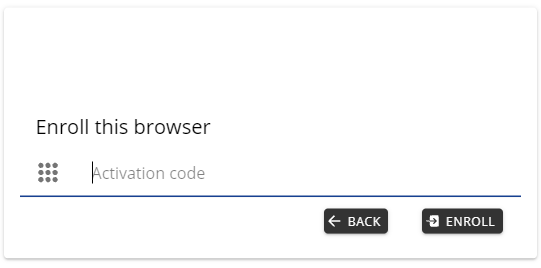
You will be asked to either:
Prerequisites
Minimum TrustBuilder Authenticator 6.5 activated with this Administrator login
To install the integrated certificates included in TrustBuilder Authenticator 6.5 App. The certificate is available in the “About” page of of your installed Authenticator 6 App. Save this file in a folder on the local computer. Install the certificate in the section of your "Manage computer certificates" in Windows (certmgr) on the local computer. Read the following instruction to install the certificate on Windows:
Rename the file in .crt format
Right click and select "Install certificate"
Select "open" and "Local Machine" in the Certificate Import Wizard screen
Select "Next" and "Place all certificates in the following store"
"Browse" Certificate store" and select "Trusted Root Certification Authorities"
Select "OK", "Next" and "Finish"
Authentication procedure
When you select this option, the console will check your accounts on your Authenticator 6 Desktop application.

When your account is found, your TrustBuilder Authenticator Desktop application will ask you to enter your PIN code to access the Admin Console v2.
You should generate an activation code for your administrator account:
with an enrolled tool (My device > +Add a device)
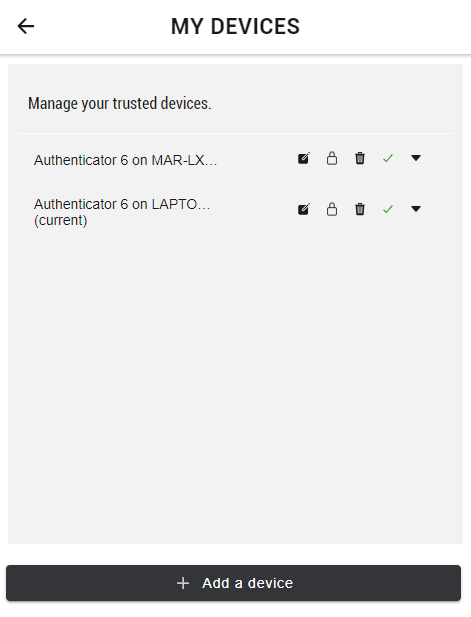
or
with your own online access to the administration console myinwebo.com > Service Users tab > Edit yout user > “Add a new device with…”

Go back to the Admin Console v2 authentication page and enter the generated activation code.
Overview
Here is an overview of the Admin Console v2.
The main menu, located on the left, contains several tabs:
Tab | Description |
|---|---|
Users | To manage users, groups, roles and security policies |
Audit | To browse the 5 last weeks of activity and search for specific operations |
Stats | To display a graphical representation of your TrustBuilder MFA service activity |
Exports | To export data in .csv format |
API Token | To create and manage API Tokens for the REST API |
About | To get information about your TrustBuilder MFA service and console v2 |
Using Admin Console v2
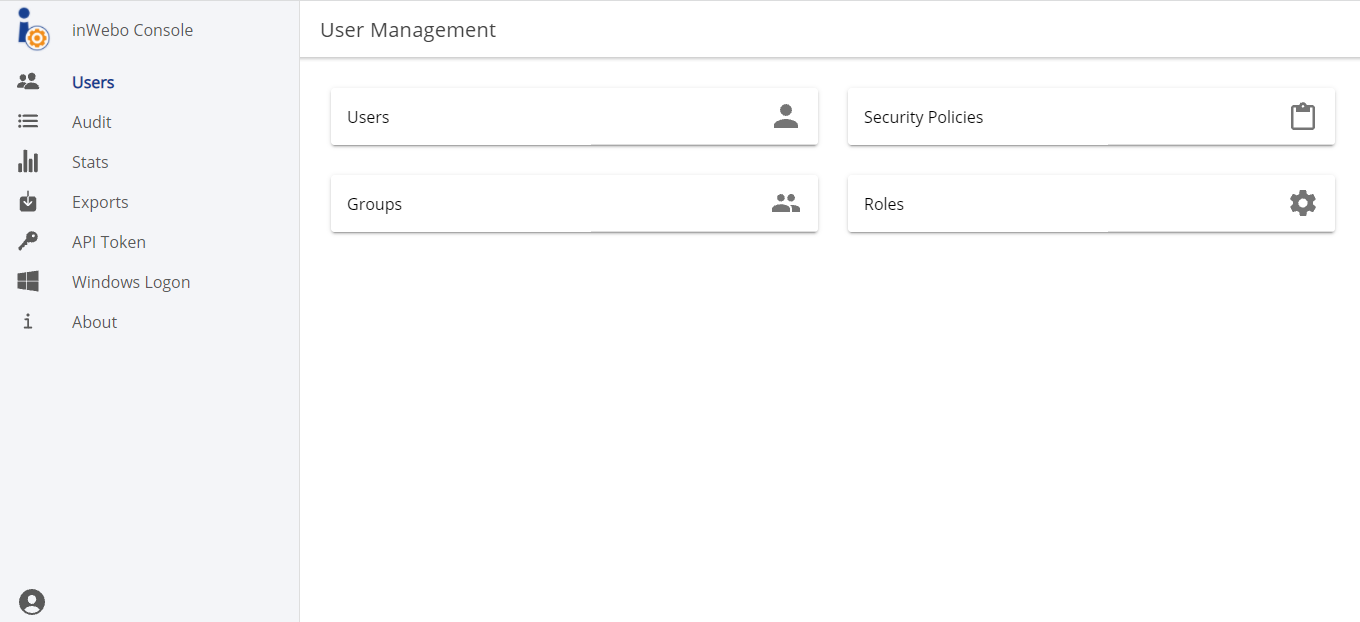
User management
The user management section contains 4 sub-sections.

Users
There are different ways to create users:
Creation by API provisioning → please refer to the “User management with REST API” documentation or “User Management with SOAP API” documentation.
Creation with external directories synchronization (AD, LDAP, Google Apps, etc.) → please refer to “IWDS” documentation.
Creation with the administration console.
To add a new user:
Go to User tab > Users sub-section > Add user.
Enter the user name in the Login field.
Enter the email address in the Email field (optional).

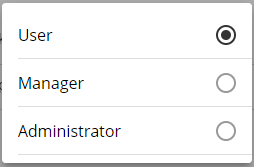
Choose the user access level to the Admin Console:
User → has no access to the Admin Console.
Manager → can connect to the administration console and manage the users of the service.
Administrator → can connect to the interface, manage the users and administrate the parameters of the service.
Click on Add to create the user.
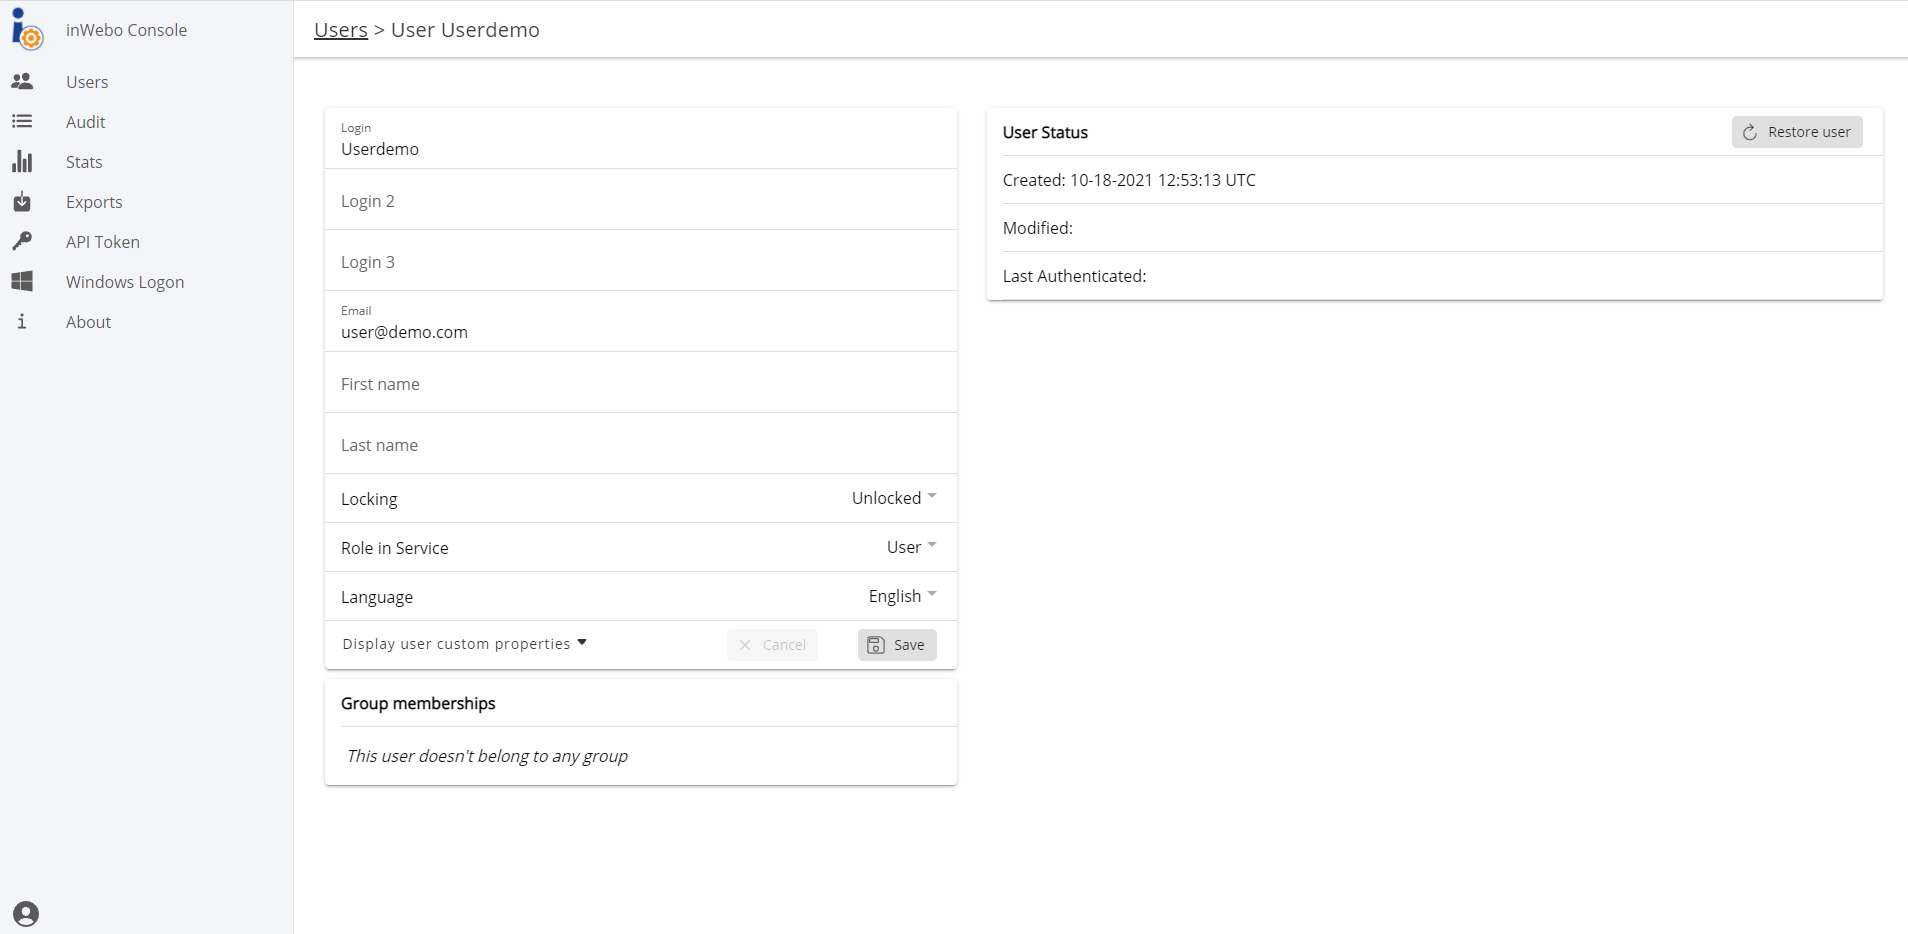
The user now appears in the users list. You can click on Edit to specify more details about the user (first name, last name, language, alternative logins). For first name and last name, note that the following special characters
' . - _ ! # ^ ~()[]are authorized.
A new user status is automatically “inactive”.
To activate a user, click on Edit (the user) > Get activation code (validity period = 15 minutes) or Get a long activation code (validity period = 48 hours). Provide the generated activation code to the user (See the Authenticator user guide to know more about how the user should use an activation code).
You can search and filter users (Users tab > Users sub-section)

Filter by login
If the login contains a "\”, you should to enter "\\" in the filter to find it. - Example: to find the login "test\user" you should filter on "test\\user"
The character "_" is a wildcard character that replaces or represents any character. - Example: you can find the login "test\user" by filtering on "test_user"
Filter by roles (All roles, User, Manager, Administrator)
Filter by status (All status, Activated, Pending Activation, not activated)
Go to Users tab > Users sub-section > Edit.
From the user edition mode, you can edit or add the user properties.
Click on Save.
Go to Users tab > Users sub-section > Delete.
Click on Confirm Delete to validate your choice.
If you use directory syncing (IWDS), your directory remains the source of truth. Please refer to the Directory Syncing (IWDS) for more details.
Roles
Custom roles feature is not fully operational for now.
Roles defines the level of access to the console for a user. Custom roles are only available for group users.
Click on +Add role.
Define the role name as it will be displayed in the Administration console interface, in English and in French. Note that this name is never exposed to the user outside the administrator console.

Check the box if you want to allow this new custom role admin console access.
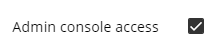
This option is very important as it is the one that determines the custom role access to the Administration console.
If the box is not checked, the role has no access to the console, and therefore has rights equivalent to the ones of the built-in 'user' role.
If the box is checked, the role can access the console. The actions the role should have access to can be determined using the role actions check-list.
Check actions you want to authorize for this role. The actions that are not checked are restricted.
Click on Save at the end of page to create the new custom role.
Groups
To create a user group:
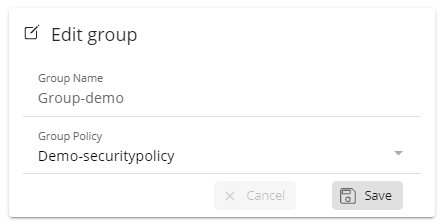
Go to Users tab > Groups > Add group.
Indicate a name for the new group.
Select a security policy (see “Security policy section).
Click on +Add to create the group. The new group is displayed in the group list.
You should now add users to the group. There are different ways to add user to a group:
with Directory Sync (IWDS), your directory remains the source of truth. Please refer to the “IWDS” documentation for more details.
with Admin Console, you can add users from the user editing mode as well as from the group editing mode.
When you add a user to a group, you can assign them a custom role (See more details in the “Creating custom roles” section).
Go to Users tab > Groups > Edit.
From the group edition mode, you can edit the group properties.
Click on Save.
Go to Users tab > Groups > Delete.
Click on Confirm Delete to validate your choice.
If you use directory syncing (IWDS), your directory remains the source of truth. Please refer to the Directory Syncing (IWDS) for more details.
Security policy
Security policy determines the number of authentication devices a group user will be able to activate.
To create a security policy:
Go to Users tab > Security policies sub-section.
Click on +Add policy
Indicate a name to the new security policy.
Define the maximum number of authentication devices authorized for this policy.

Setting | Description |
|---|---|
Max devices | The maximum number of authentication devices of all types a group user will be able to activate. 0 = unlimited. |
Max devices Helium | The maximum number Helium instances a group user will be able to activate. 0 = unlimited. |
Max devices Virtual Authenticator | The maximum number Virtual Authenticator instances a group user will be able to activate. 0 = unlimited. |
Max devices Authenticator | The maximum number TrustBuilder Authenticator application instances a group user will be able to activate. 0 = unlimited. |
Max devices mAccess | The maximum number of applications based on mAccess a group user will be able to activate. 0 = unlimited. |
Audit
The audit displays recent events that are useful for user assistance, over the last five weeks.
The operations are displayed with the following fields: OperationID / Date - Time / Login / Operation type / Result.
At the end of the line you will also find a triangular icon to expand that line and get additional details.
To investigate in the longer term, it is necessary to use the exports available for download as a basis for analysis.

To investigate in the longer term, we recommend:
either to continuously feed a SIEM software, via API
or to export (via the export function) to analyze in a punctual way
When browsing the audit trail, you can refine your search with different filters:

Filter by login: a text search based on the Login field
Filter by Action: if you want to track specific operations in your service history
Filter by date: you can select the appropriate time range from the past 5 weeks

The filters you define are persistent, even if you change the section.
You can export your search results in .csv format with the "Export selection" button at the bottom of the Application.
Stats
The default view displays the total number of operations during the selected period (Filtered by category: *All categories).
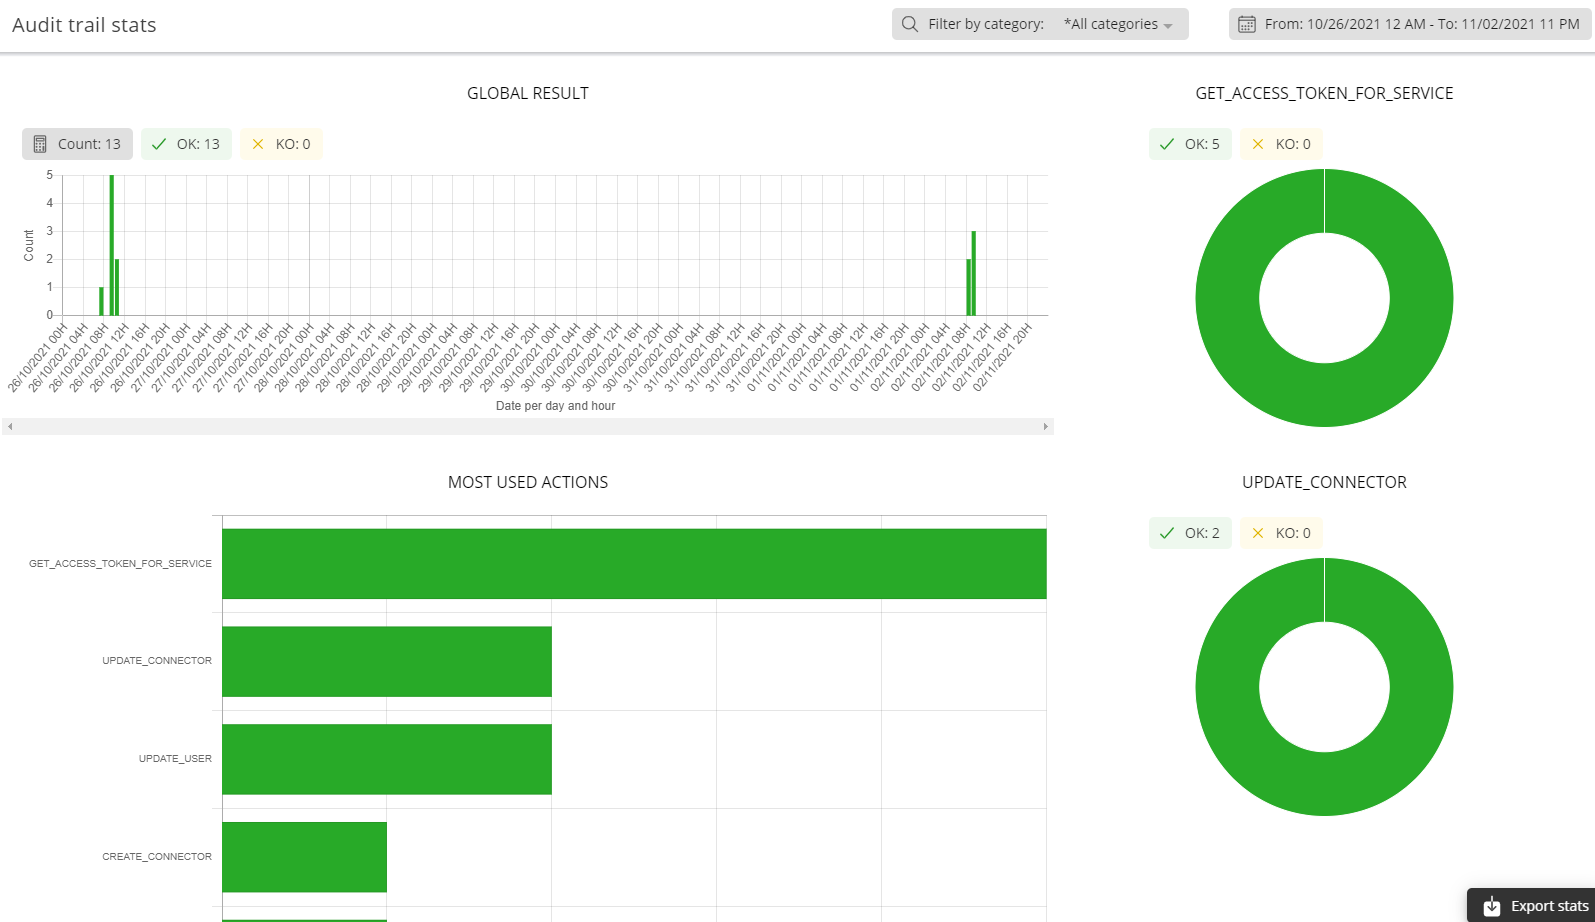
You can modify this view according to the following filters:
Filter by Action: if you want to track specific operations in your service history
Filter by date: you can select the appropriate time range to display from the past 5 weeks
Export your results
You can directly export the base file of these graphics in .csv format with the "Export stats" button at the bottom of the application.
Exports
The export section allows you to download the following files / extracts for your service.
This section also includes the current week which displays data from the end of last week until now.
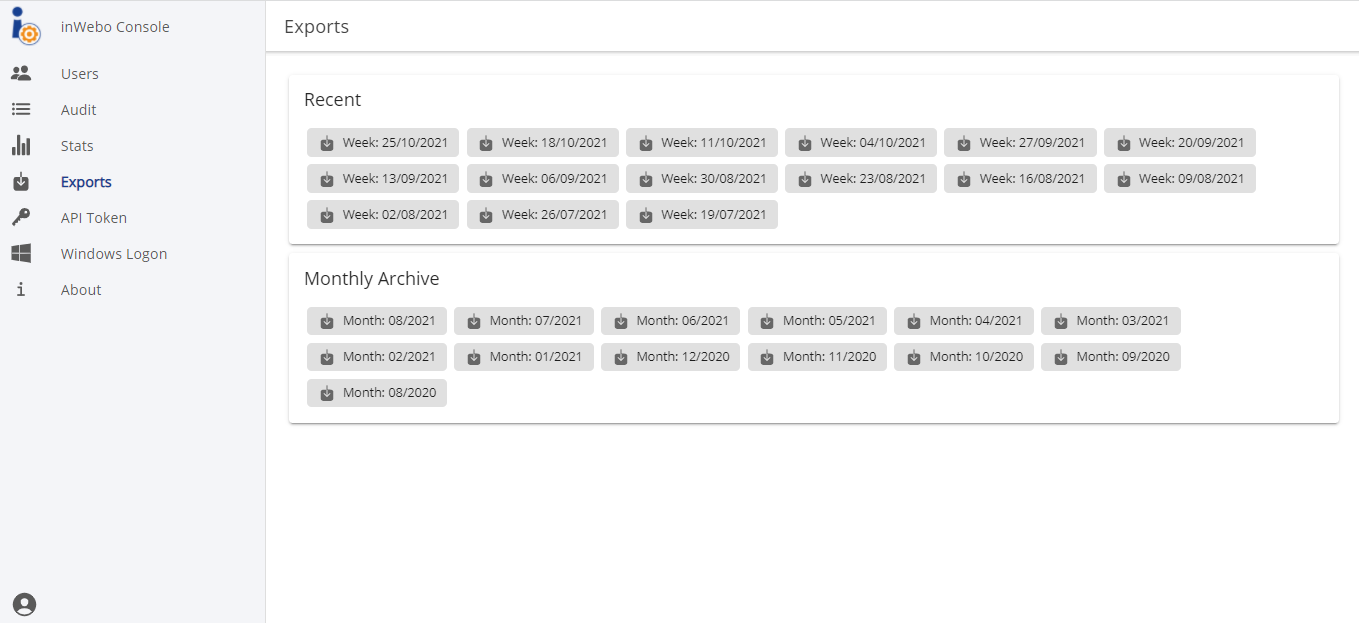
Recent: files available for the last 6 weeks of activity (5 last Weeks + current week)
Monthly: monthly export file for the last 12 months
If the export file exceeds 200 MB, this file will be made available in several files of 200 MB maximum each.
Connectors
The connectors allow you to integrate TrustBuilder MFA to protect your applications. Connectors define the way an application or a service communicates with TrustBuilder.
TrustBuilder MFA supports many types of connectors.
For now, only a few are supported in the admin console v2:
Open ID Connect
OIDC Azure AD

Please, refer to the Generic integration section to know more about connectors configuration.
API Token
The API token is a cryptic string generated by TrustBuilder in this case. Bearer authentication (also known as token authentication) uses tokens to identify and authenticate the user making the API call. Bearer authentication grants access to the bearer of the token. The client must send this token in the Authorization header when sending a request to the REST API endpoints (see more information).
From the Admin Console, you can generate tokens for the MFA REST API.
To generate a new token for MFA REST API:
Go to the “API token” tab.
Click on +Add API Token.
Enter your PIN code and select the expiration date of the new token.
By default, a 13 months validity period is set. You can edit this setting as you wish.
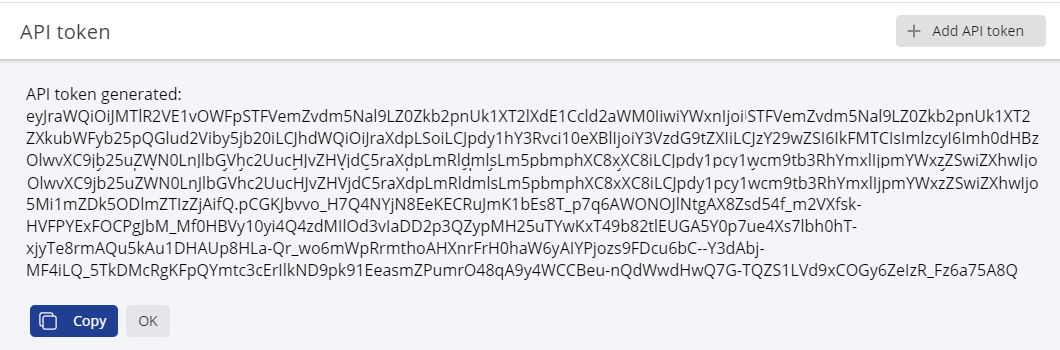
Click on “Generate”.

The new API token generated is displayed:
Click the OK button to see the API Token generated list.
Click on Copy to use it in the REST API call.
From the API Token list, you can revoke a API Token generated. Click on Revoke and confirm your choice to revoke the token. This action deletes the API token from the API Token list and it is no longer usable for the REST API.
A revoked API Token is no longer usable within one hour after revocation.
Graphical themes
This section allows you to customize the look and feel of your end users' graphical interface.
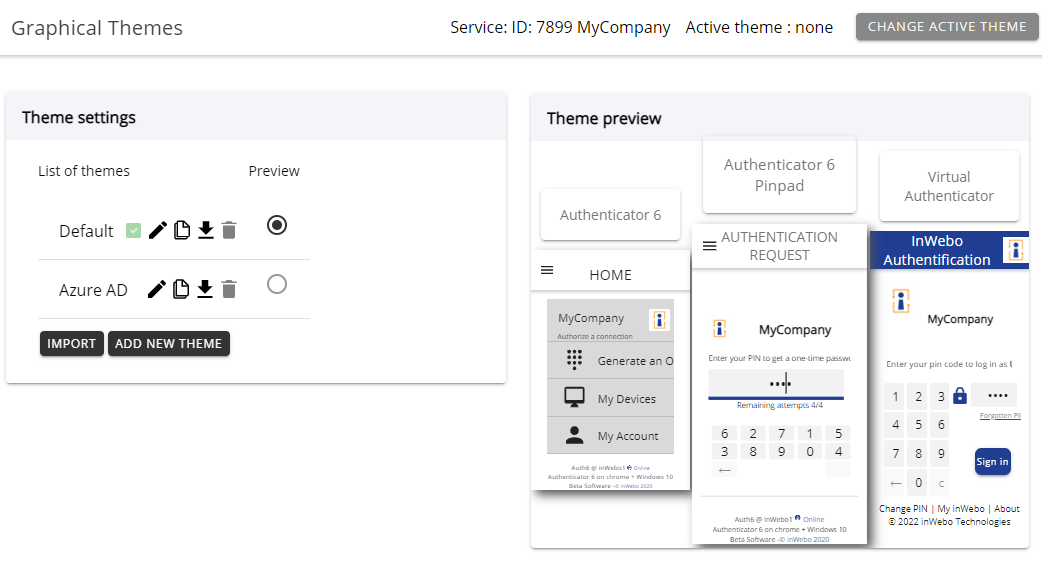
Please, refer to the Theme editor documentation to know more about graphical themes configuration.