Salesforce - SAML integration
This documentation guides you to integrate inWebo multi factor authentication service with "Salesforce" SAML 2.0 authentication.
InWebo provides innovative, no-hardware, 100% SaaS, strong authentication solutions for employee and consumer secure transactions.
The purpose of this guide is to explain how to use InWebo as a SAML 2.0 Identity Provider for your Salesforce account.
General Principles
InWebo strong authentication service supports many built-in interfaces such as Radius, SAML 2.0, Web Services API, Google Apps and many more. Salesforce supports SAML 2.0 standard from OASIS.
Users can download and manage InWebo tokens by themselves. In order to get the whole system up and running, your company Salesforce administrator only has to:
Create an InWebo account (2 min)
Download, install and activate one of InWebo tokens (4 min)
Configure SAML 2.0 connector in his InWebo account (2 min)
Configure SAML on your Salesforce account (2 min)
Enable Federated authentication for the desired profiles (2 min)
Perform a test authentication (1 min)
Basically, the whole system can be up and running in 15 minutes.
Prerequisites
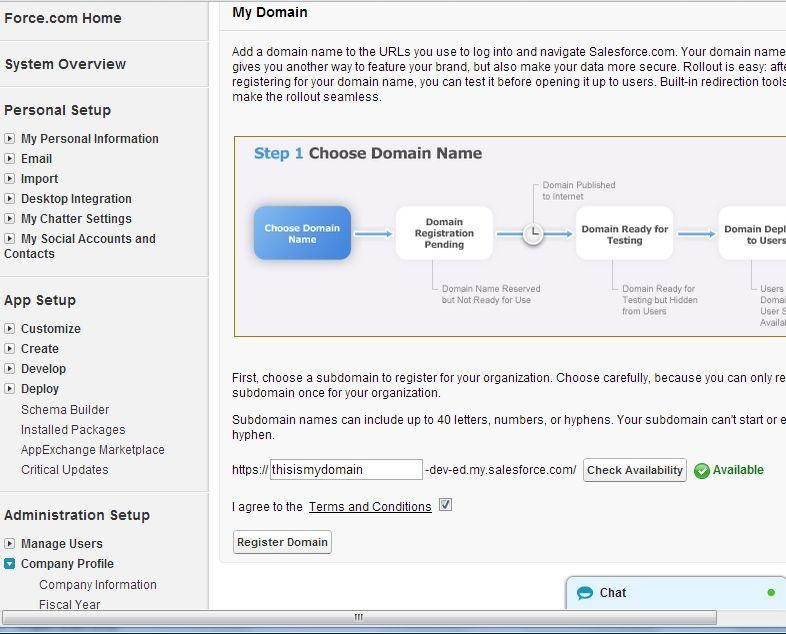
In order to use SAML 2.0 easily with Salesforce, you need to have a domain configured on your Salesforce account. If you don’t have one, here is the procedure:
Logon to Salesforce, and go to Setup Administration Setup Company Profile My Domain
You also need to have administrator access to an InWebo account. You can create your own InWebo account at InWebo Signup page.
Configure SAML Trust Relationship
First, you need to configure the SAML Trust Relationship between Salesforce (Service Provider) and InWebo (Identity Provider).
This is done by exchanging metadata between both parties:
Access your InWebo Administration Console : https://www.myinwebo.com/console/logon
On the “Secure site” tab/page, you have to add in the connectors section.
Select “Add a connector of type…”, and choose “SAML 2.0”:
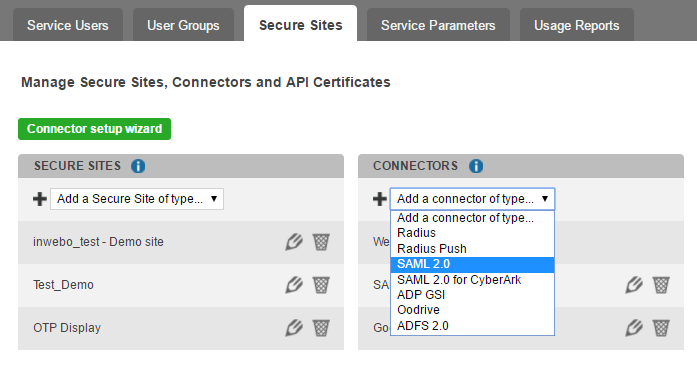
Create a connector of tye SAML 2.0
Click Ok at the bottom of the first page
The popup below will appear. Click “Download InWebo IDP SAML 2.0 certificate”:
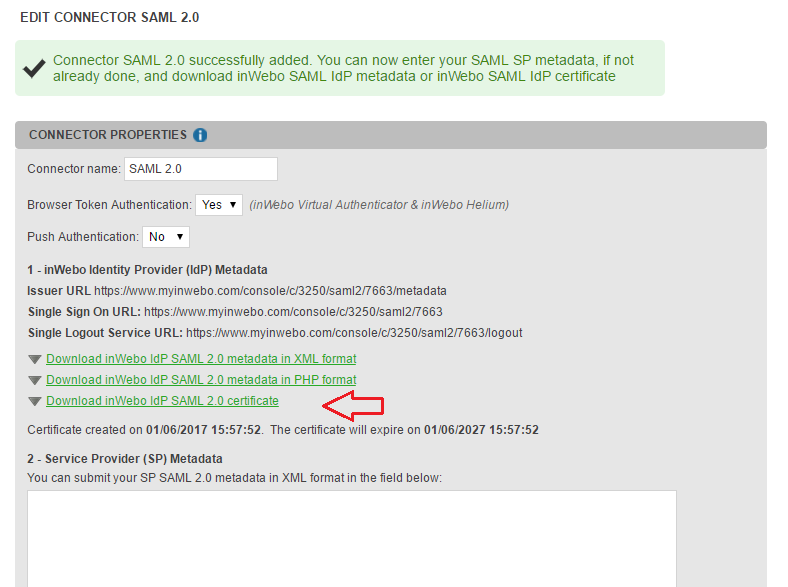
You will get a crt file called “inwebo-saml-idp-XXXX-public-key.crt”.
Also, you need to write down the “Single Sign On URL”: https://www.myinwebo.com/console/c/XXXX/saml2/7666 in our case.
Click “Cancel” or keep this window open.
Salesforce SAML Setup,
In Salesforce click "Setup"
In the "administer" section, expand "Security Controls"
Single Sign-On settings > In the center of the page at the top, click on the "Edit" button.
In the first section of the page Tick "SAML enabled" then save
In the second section click on the "New" button
In the Name Field input "inWebo"
In the Issuer Field paste the address you find in the inWebo "SAML 2.0 connector settings"

Change request signature method to RSA-SHA256
For the "Identity Provider Certificate" upload the certificate "inwebo-saml-idp-XXXX-public-key.crt" you downloaded previously.
In “Identity Provider Login URL”, put the SSO URL, you find in the inWebo "SAML 2.0 connector settings".

SAML User ID type can take any of the 2 possible values, depending on your configuration.
If InWebo logins are Salesforce usernames, choose “Assertion contains User's salesforce.com username”
If InWebo logins are Salesforce “Federation ID”, choose “Assertion contains the Federation ID from the User object”. Then configure the Attribute Name to match with the inWebo attribute for the FederationId (section "4-SAML Attributes" of the inWebo SAML connector configuration).
For “SAML Identity location”
you can choose "Identity is in the NameIdentifier element of the Subject statement"
alternatively you can choose “Identity is in an Attribute element”, then provide the "Attribute Name" configured in section "4-SAML Attributes" of the inWebo SAML connector configuration (ex: mail). The "Name ID Format" should be "urn:oasis:names:tc:SAML:2.0:attrname-format:basic".
Choose “Entity Id” = your Salesforce domain (In our example, the domain is https://thisismydomain-dev-ed.my.salesforce.com)
Click “Save”
Download Salesforce metadata:

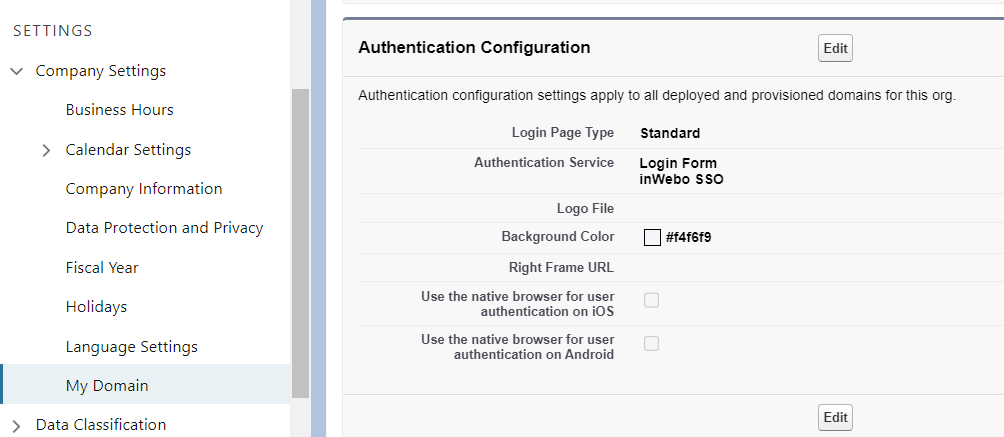
Go to Company settings > My Domain > Authentication Configuration.
Add the “Authentication Service” to show the “Connect with inWebo” button on the notification page.
inWebo SAML setup with Salesforce Metadata
This will make you download an XML file name something like “SAMLSP-00Dd0000000ehy3.xml”.
Open this file with notepad and copy the entire content in your clipboard:
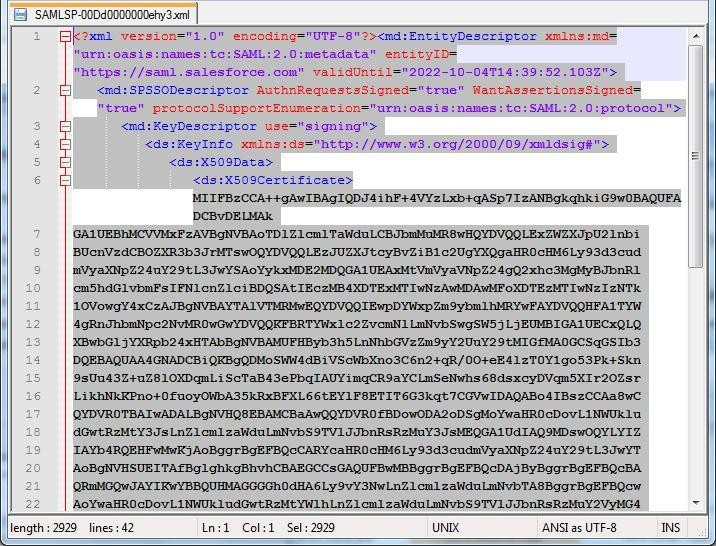
Go back to your InWebo Administration Console and paste the content in the connector configuration popup: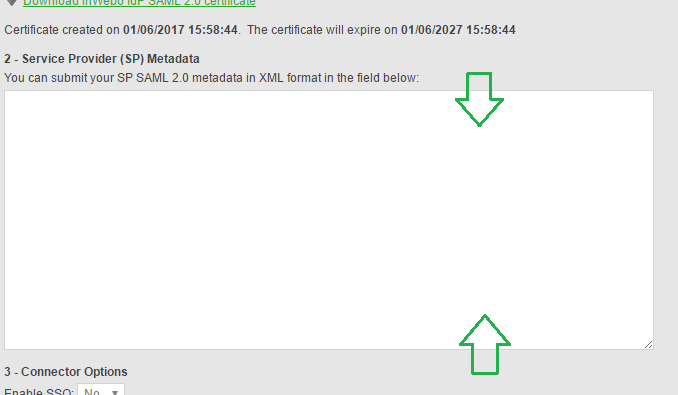
Configure Section 3 and 4 and click on Update.
.png?inst-v=187c6d1d-cab2-470a-a11d-7ceaac8d5fb3)
Creating a secure site in the inWebo admin console
In inWebo administration console, in the "Secure sites" section,
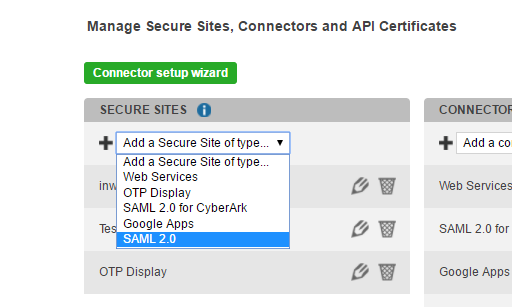
"Add a Secure site of type" SAML 2.0
Then, go to InWebo Bookmark Administration. Select “Add a Bookmark of type…”, and choose “SAML 2.0”. The popup below will appear.
Choose a name for this "Secure site"
In Called URL, type in your Salesforce domain URL
Leave the default value in “Authentication page
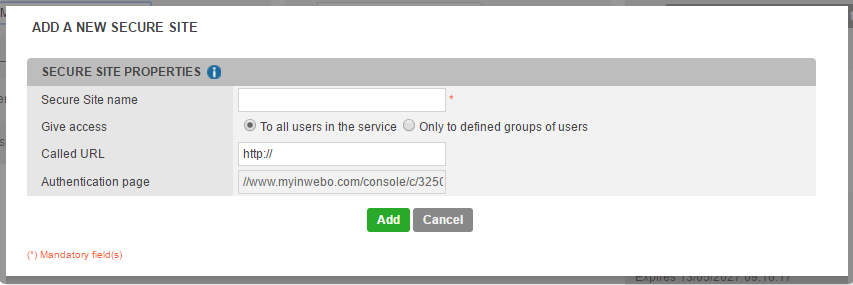
Click “Add”.
You InWebo account is now fully configured.
Enforce SAML Authentication of your users
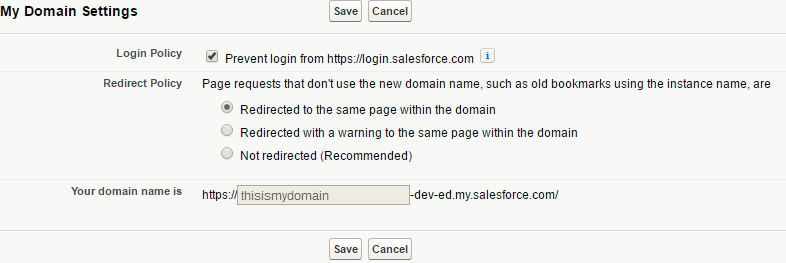
At this stage, your Salesforce users can log both from the Salesforce login page (https://login.salesforce.com) and from the SSO (https://thisismydomain-dev-ed.my.salesforce.com). It is possible to enforce SSO login. Go to Company Profile> My Domain> My Domain Settings
Tick : Prevent login from https://login.salesforce.com
Select :"Redirected to the same page within the domain"
Your domain is https://thisismydomain-dev-ed.my.salesforce.com
Test Authentication on Salesforce
Now accessing from https://www.myinwebo.com/ you'll find a "Salesforce SAML" secite site:
This will launch the url https://thisismydomain-dev-ed.my.salesforce.com, which will be redirected to InWebo SAML login page. The authentication popup will appear automatically, prompting your for your InWebo password.
Click “ok”. InWebo application generates a One-Time-Password, and fills the login form without user intervention. It will also submit automatically the request. If the One-Time-Password is valid, you will be directly connected to Salesforce.