SSL VPN Sophos UTM with inWebo LDAP integration
Prerequisites
Sophos UTM
inWebo LDAP Proxy
Service account to request the LDAP server
inWebo account
Note: The following configuration and screenshots are based on Sophos UTM 9.5
Install inWebo LDAP proxy
To install inWebo LDAP Proxy go to inWebo LDAP Proxy v1.1.0 and follow the steps.
Configure LDAP Authentication Server with inWebo LDAP Proxy
Navigate to Definition & Users > Authentication Services > Servers tab
Click + New authentication Server
Fill in the parameters as shown below:
Backend: LDAP
Position: Top (after saving this form it becomes 1)
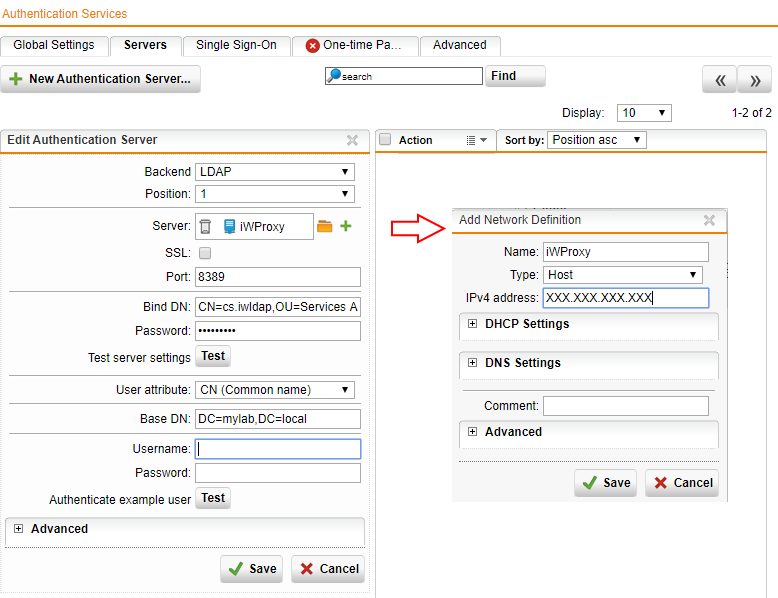
Server: Define inWebo LDAP Proxy Server
Name: Define a name for the inWebo LDAP Proxy
Type: Host
IPv4 address: enter the IP address of the inWebo LDAP proxy
Click on Save
Port: LDAP proxy port
Bind DN: service account authorized to request LDAP server
Password: password associated with the service account
User attribute: CN (Common Name)
Base DN: this is the entry point in your domain for performing user and group lookups
Click on Save
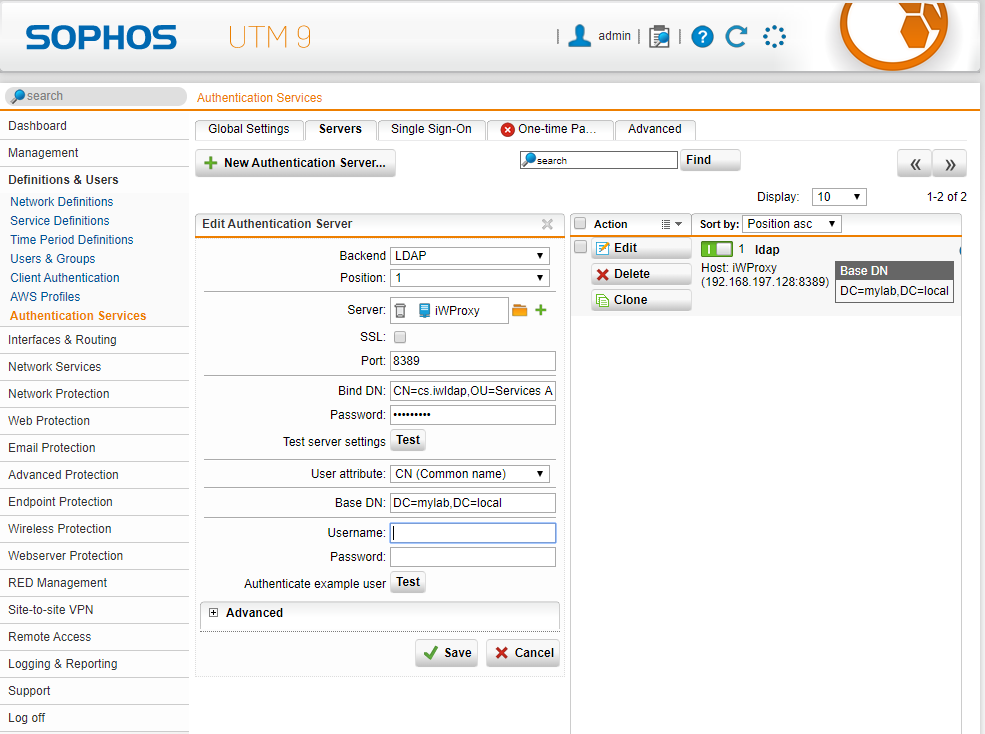
At this point, you can test your settings by filling out the fields "Username" and "Password" with a LDAP user account, which is also registered at inWebo, and then click on "Test".
Activate User Portal
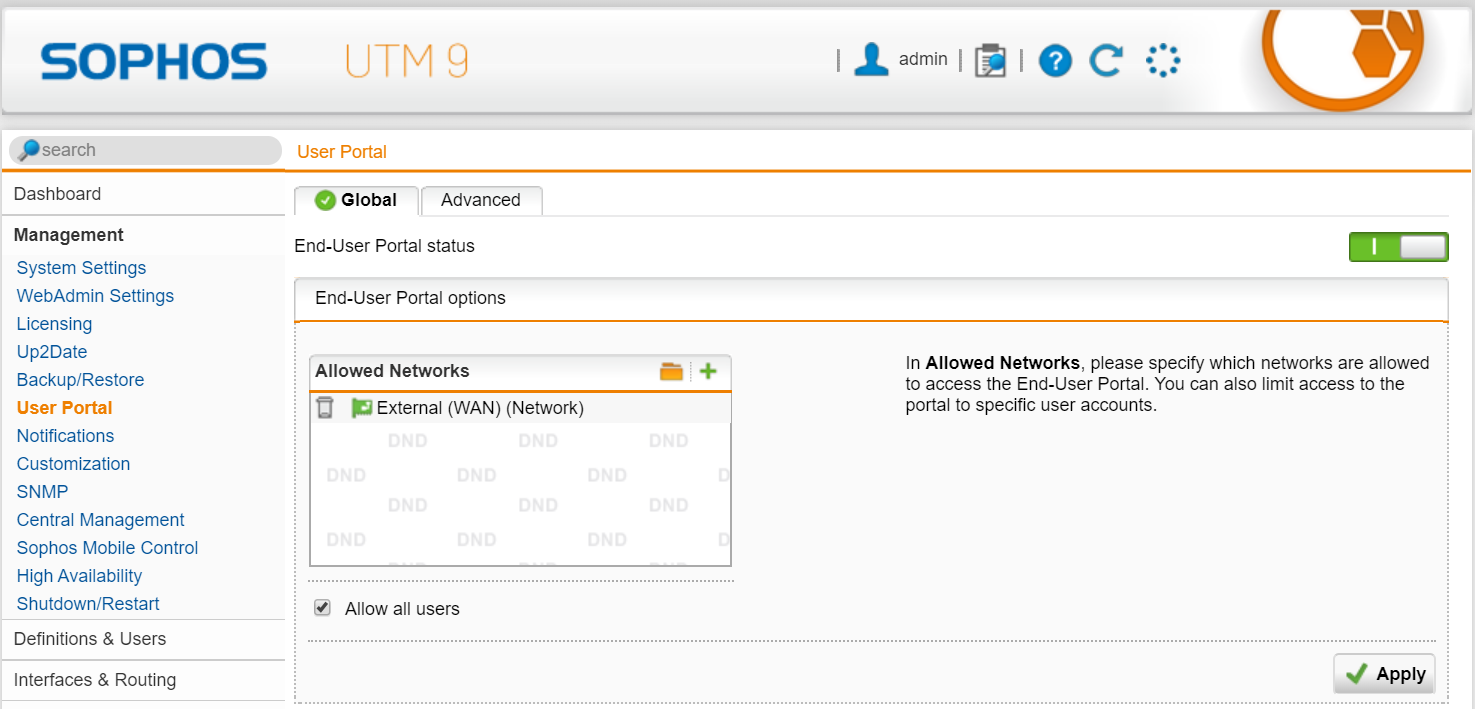
Navigate to Management: User Portal > Global tab
In the "Allowed Networks" section click on "+" to specify wich networks are authorized to acces the End-User Portal
Click on Apply
Configure the Sophos UTM End-User Portal with inWebo
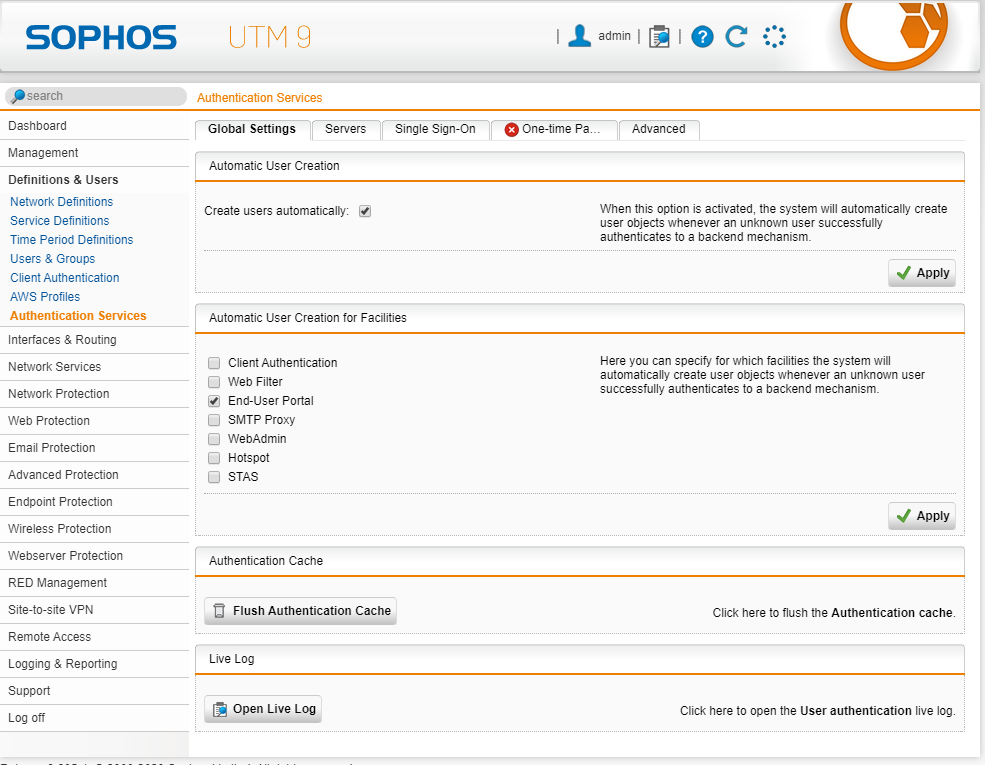
Navigate to Definition & User: authentication Services > Global Settings tab
Enable "Create users automatically" in the Automatic User Creation section and click Apply
Enable End-User Portal in the "Automatic User Creation for facilities" section and click Apply
Configure SSL VPN to use inWebo
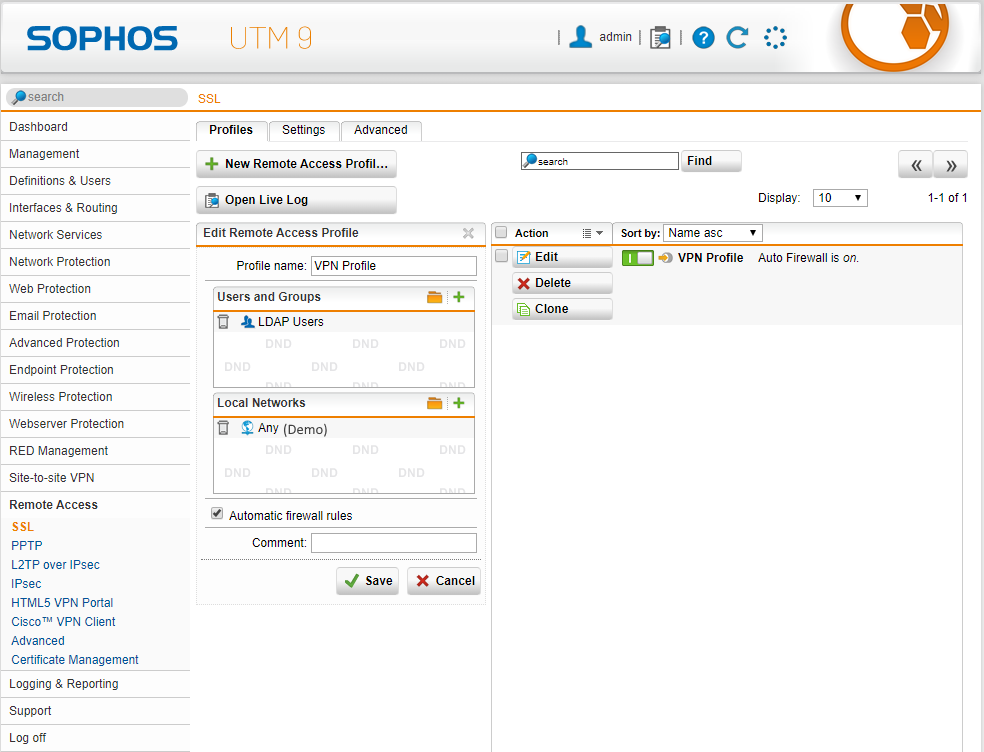
Navigate to Remote Access > SSL > Profile
Click on New Remote Access Profile
Make the following setting:
Define a profile name
User and Groups: LDAP Users
Local Networks: Add the local networks which should be accessible for the selected SSL clients via the SSL VPN tunnel
Click on Save
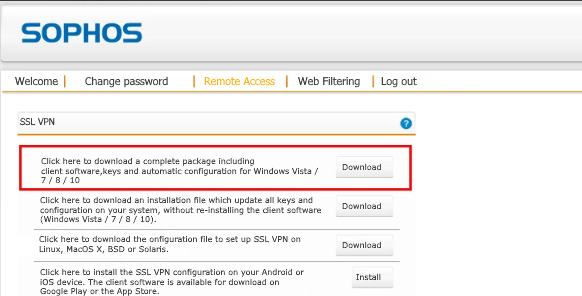
Setup SSL VPN client in Windows environment
Log in with an account user via the Sophos UTM User Portal
Navigate to the Remote Access tab
Download and install the client package
Testing inWebo LDAP proxy authentication with the End-User Portal
Login: Enter a LDAP user account, wich is also registered at inWebo
Password: Enter the associated password
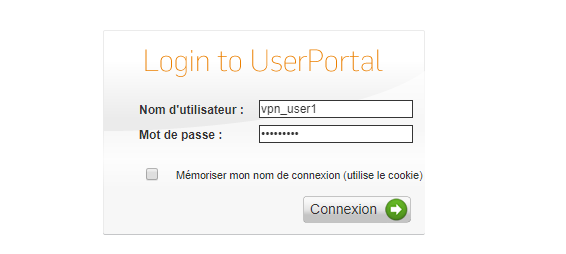
Click on Connection
Click on Push notification from your enrolled mobile phone
Enter your PIN Code
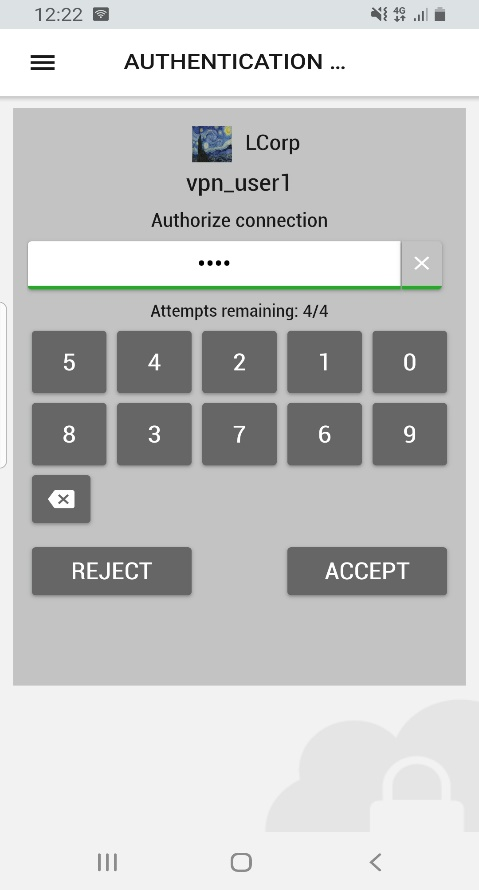
Click on Accept

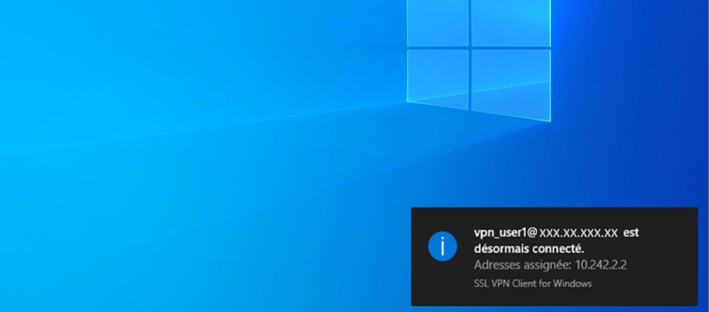
LDAP inWebo authentication test with the SOPHOS SSL VPN client
Connect the SSL VPN with an inWebo user account
Enter the password associated to this account
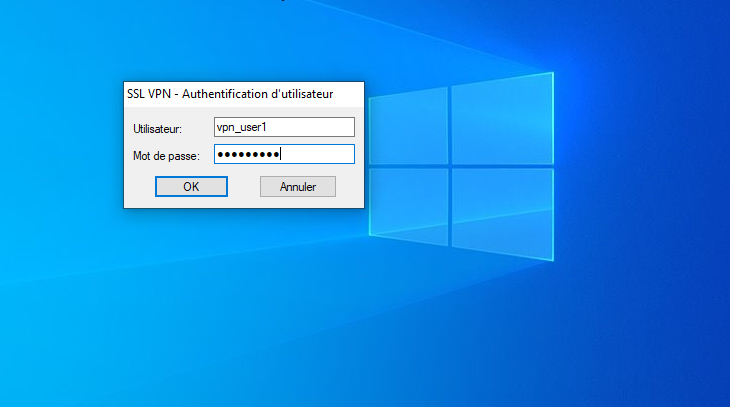
Click on OK
Click on Push notification from your enrolled mobile phone
Enter your PIN Code
Click on Accept