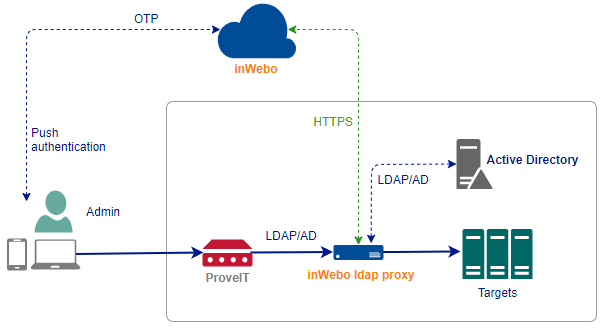
Rubycat PROVE IT, configuration with inWebo LDAP proxy
The following steps are necessary to configure Rubycat ProveIT to use inWebo “LDAP proxy” to authenticate users with multi-factor authentication in addition to the login / password.
inWebo LDAP Proxy configuration
inWebo LDAP Proxy installation and configuration guide is here: Generic integrations
Configure your LDAP proxy with
certificate path and its passphrase
inWebo service ID
LDAP server IP and port
whitelist DN : provide the DN for the read only account used by ProveIT to browser the LDAP server
login attribute : sAMAccountName and userPrincipalName are often used when integrating with AD but you can change it to something more relevant to your architecture
Configure ProveIT Authentication server
Navigate to Authentication tab and select Authentication servers in the Authentication menu.
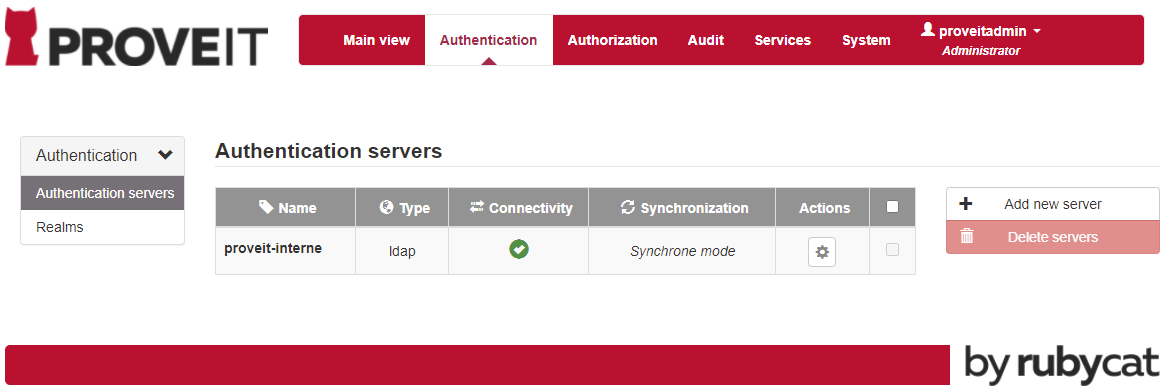
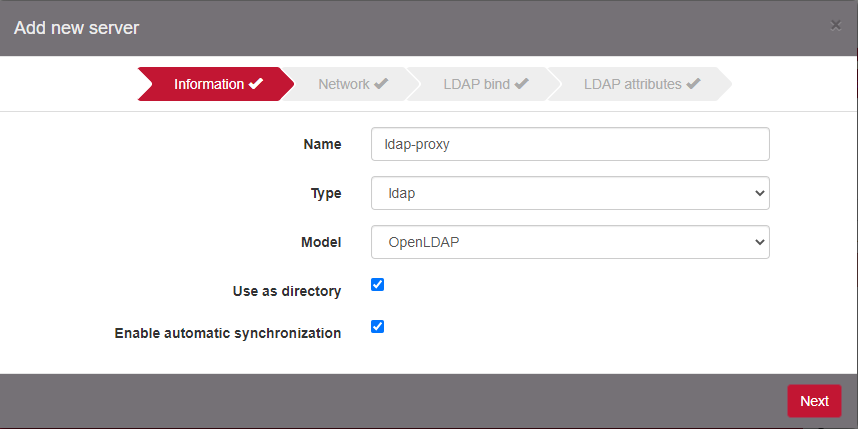
Click on Add new server and add to configuration the LDAP proxy connection settings. Make sure to select OpenLDAP as the Model.
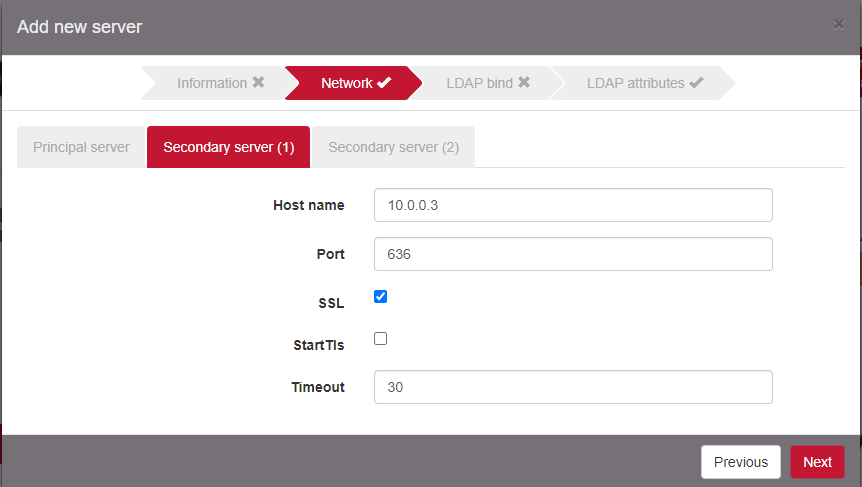
Configure Host name and Port with the LDAP proxy information. Change the default timeout to 30sec. After this timeout ProveIT will try to authenticate the user against the secondary server.
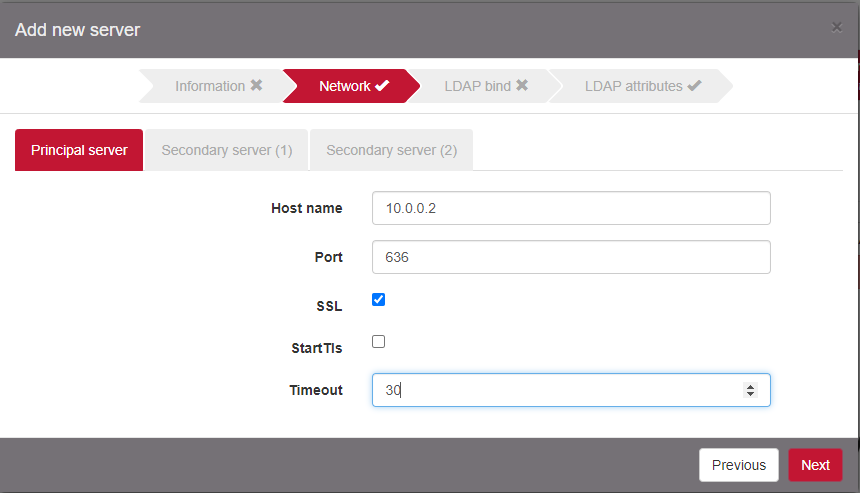
Add a Secondary server if you deployed a secondary LDAP server.
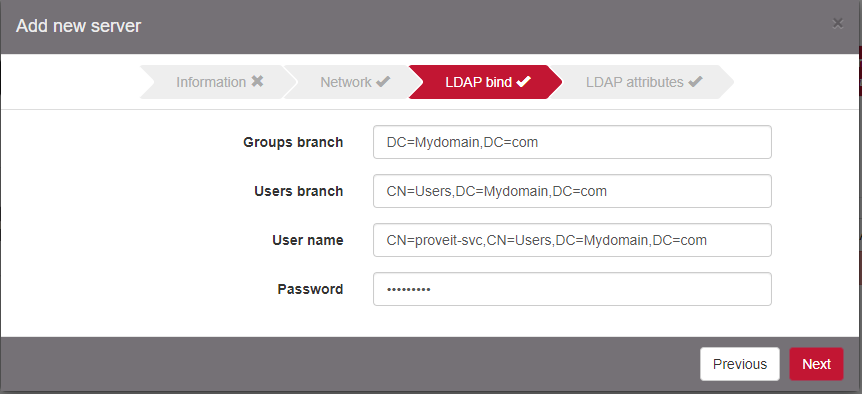
Configure the read-only account to request the LDAP server.
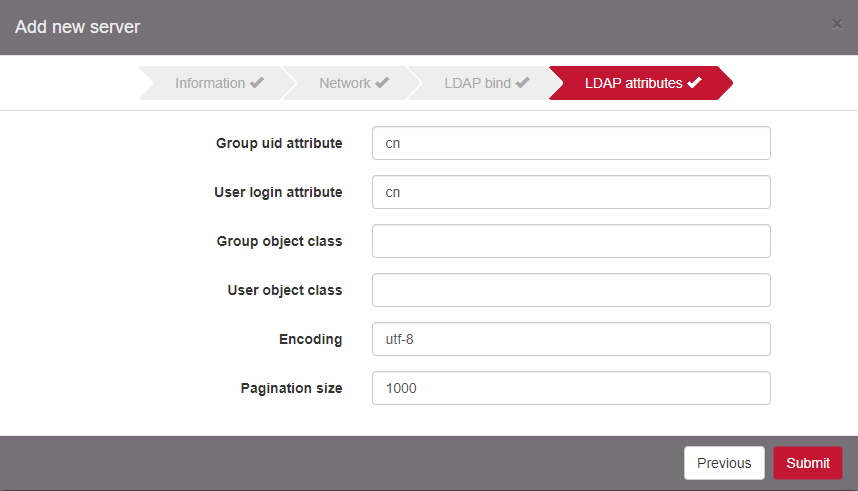
Make sure to change User login attribute to “cn” and click on Submit to validate the Authentication server creation.
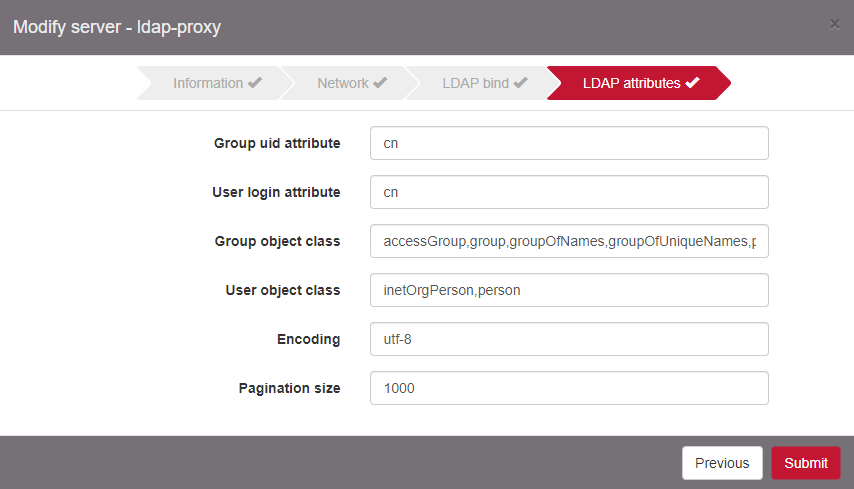
Once the Authentication server is created, the parameters Group object class and User object class are automatically filed. Edit it to check the settings.
Configure ProveIT Authentication Realm
You can change an existing Realm or create a new one. Navigate to Authentication tab and select Realms menu.
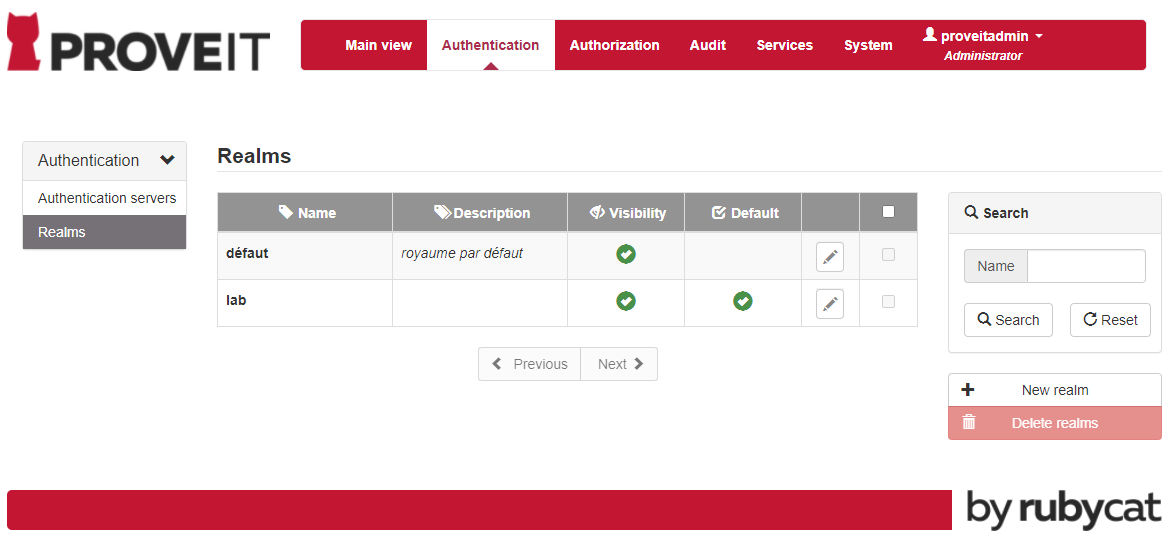
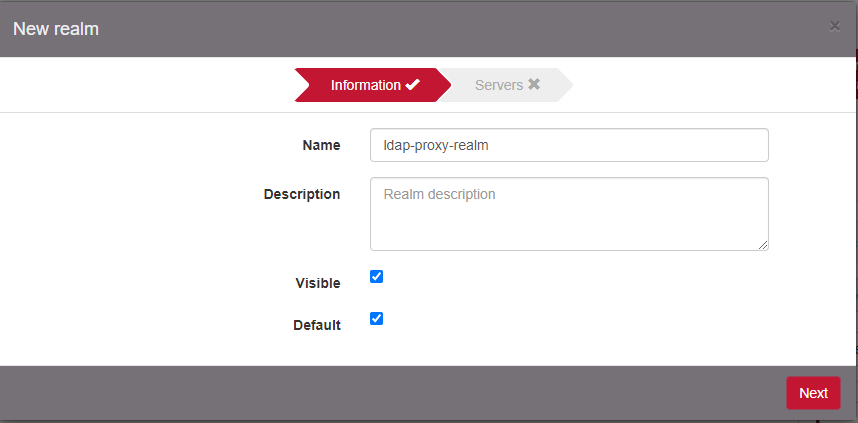
Click on New realm and optionally configure it as the Default realm.
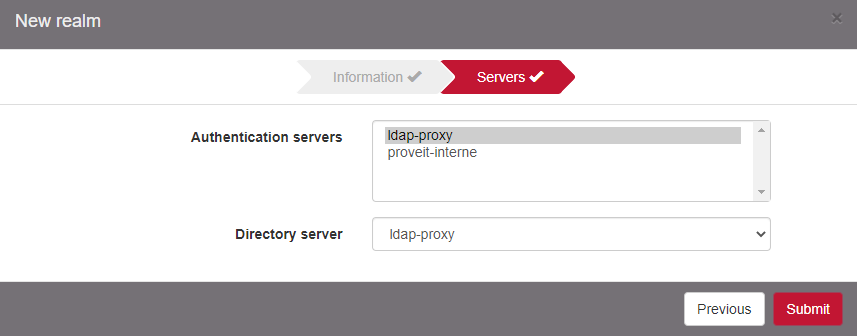
Select the Authentication server created previously as the Authentication servers and as Directory server.
Configure ProveIT user role
You can change an existing user Role or create a new one. Navigate to Authorization tab and select Role in the Users menu.
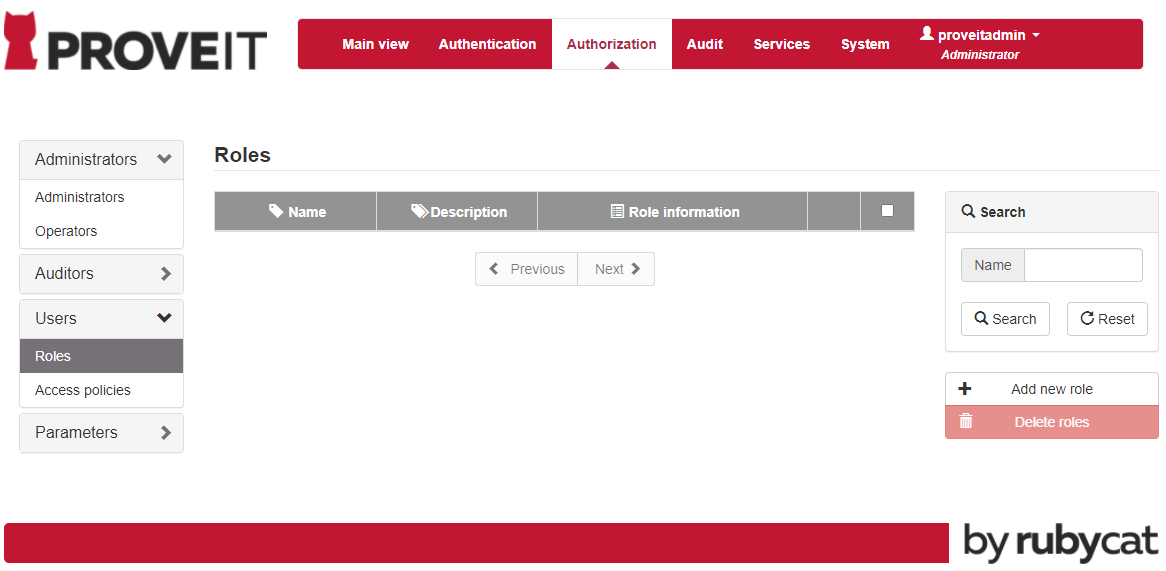
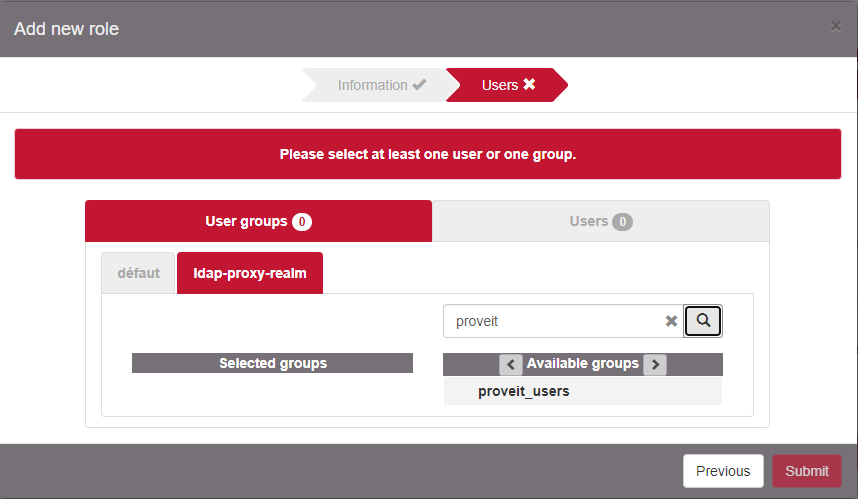
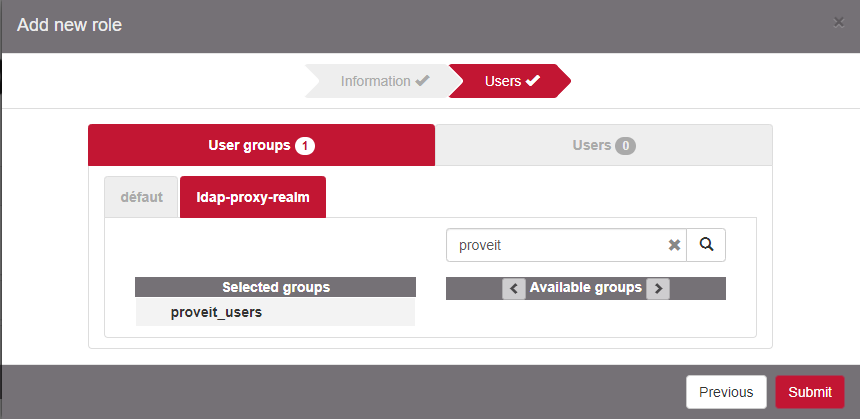
Click on Add new role.

Select the realm created/modified previously and search for one or more user group / user to map with that role. Add them to the Selected groups or Selected users columns.
Configure ProveIT access policy
You can change an existing user Role or create a new one. Select Access policies in the menu Users.
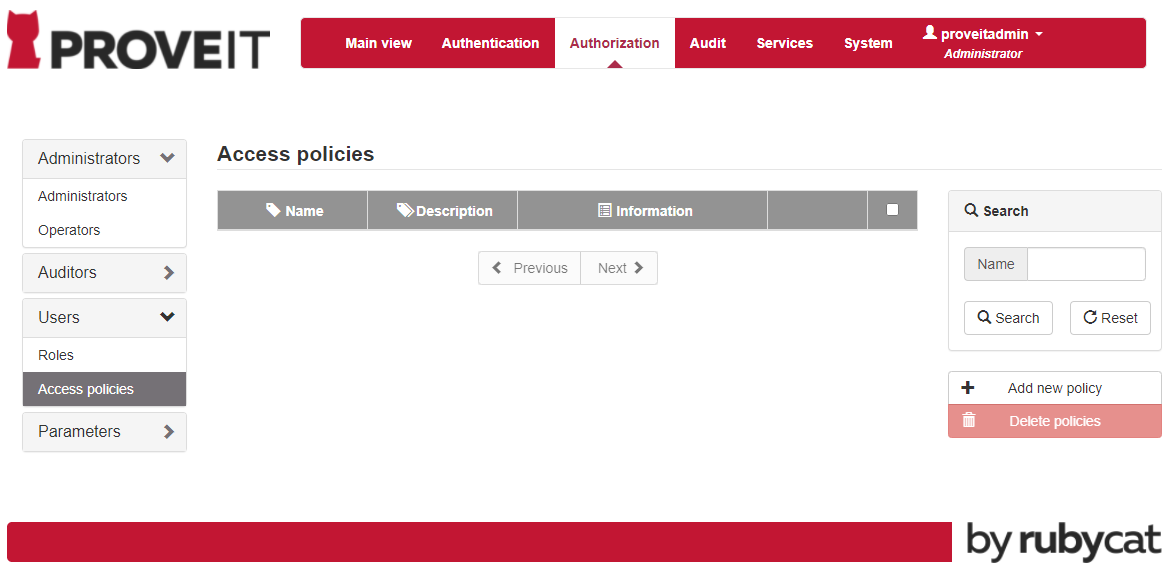
Click on Add new policy
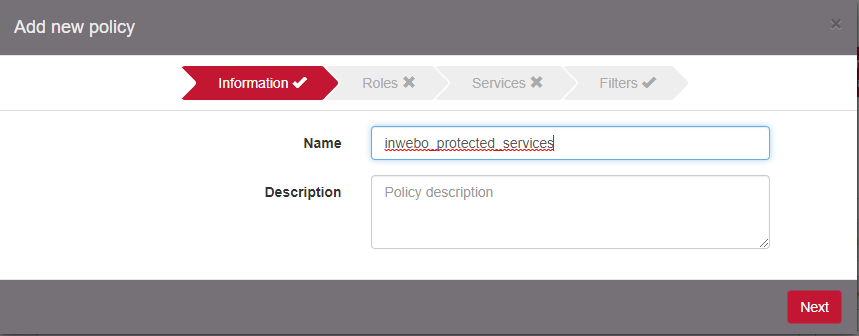
Select the role configured previously.

Select the desired target servers
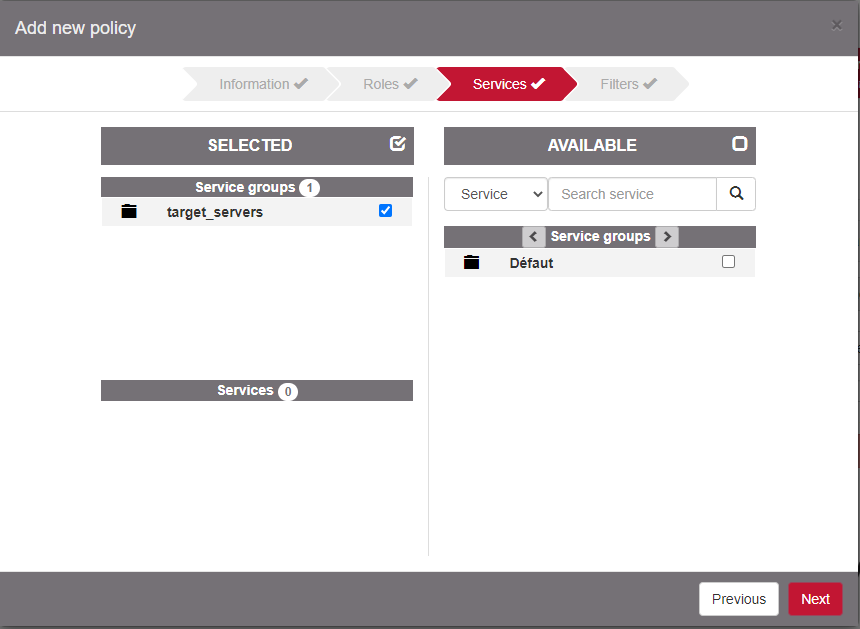
Click on Next. Optionally configure a Filter and Submit.
User experience
When connecting with an RDP client or an SSH client, the user member of the LDAP proxy realm will enter his password and then has to authorize the authentication request on Authenticator (Mobile or Desktop).