Pulse Connect Secure, configuration with inWebo LDAP Proxy
Download and install an inWebo certificate for your service
Log in to the inWebo administration console.
Navigate to the appropriate service view.
Go to Secure Sites and click on the "Download a new certificate for the API" button.
Remember to set the Certificate Authentication option to Yes.
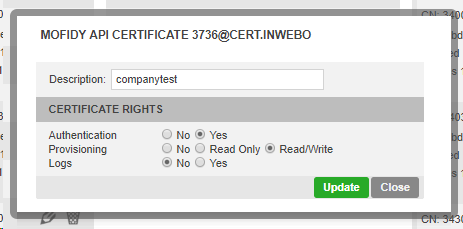
Warning: Don't forget to secure this certificate and his passphrase for later use.
Install and configure inWebo LDAP Proxy
Following the configuration instructions, install the inWebo LDAP Proxy on a server reachable from your LDAP server.
inWebo LDAP Proxy, installation and configuration
Copy and install the inWebo certificate you have created on the first chapter
indicate the path and passphrase in your LDAP Proxy configuration file
Whitelisting the Administrator / Read access LDAP account
For the Pulse Secure configuration you have to whitelist the Administrator/ Read account for this LDAP.
This account won't trigger a Push notification as it is used each time a BIND request is forwarded to the LDAP.
proxy.ldap.whitelist.dn : CN=Administrator,CN=Users,DC=Your_domain,DC=com;CN=ReadOnly,CN=Users,DC=Your_domain,DC=com;
Configuring the Connect Secure appliance
Creating the LDAP authentication server
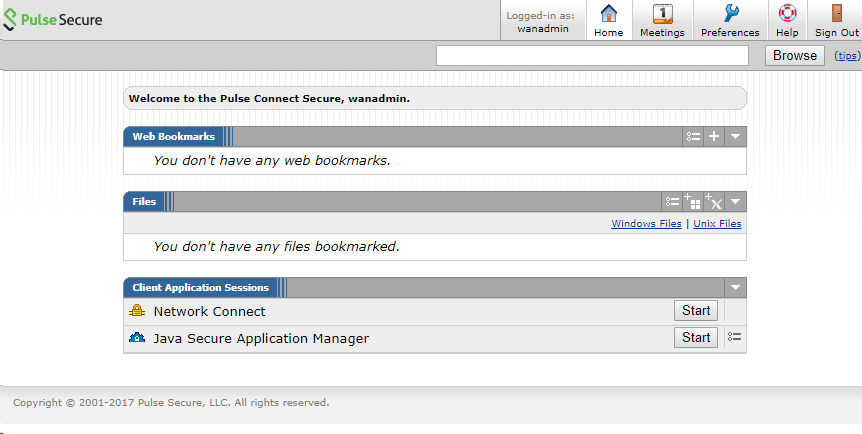
Open your Connect Secure administration console,
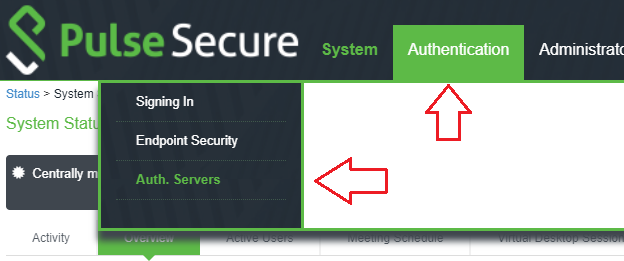
in the top menu, select Authentication > Auth. Servers
On the Authentication servers page, at the top of the page select : "LDAP Server" in the drop down list and click on "New Server..."
On the New LDAP Server page, fill the form with the following information:
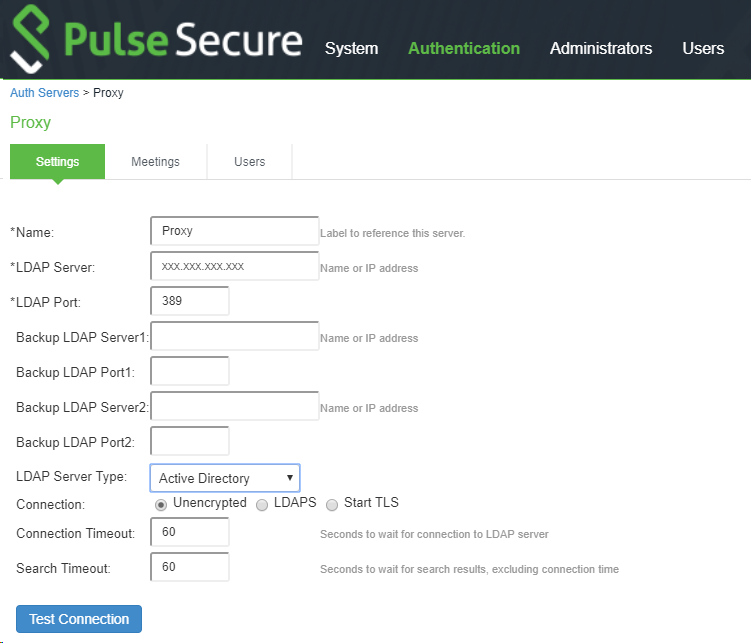
Indicate your LDAP Proxy address and service port
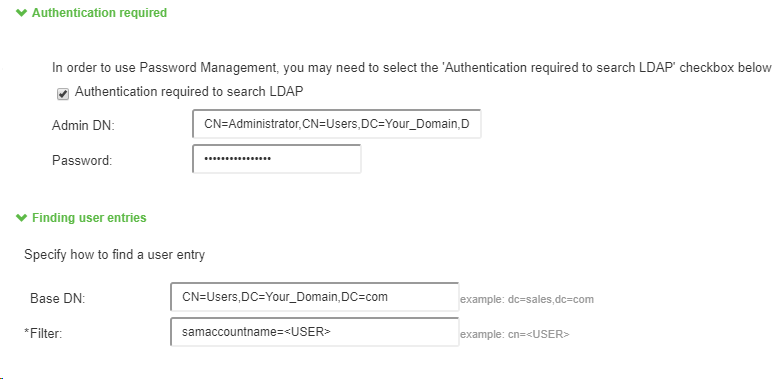
Indicates if needed the DN of the Administrator / Read account which will access your LDAP, the same as the account whitelisted in the LDAP proxy configuration.
Click on "Test Connection" to be sur your LDAP proxy is correctly configured then Click on "Saves changes"
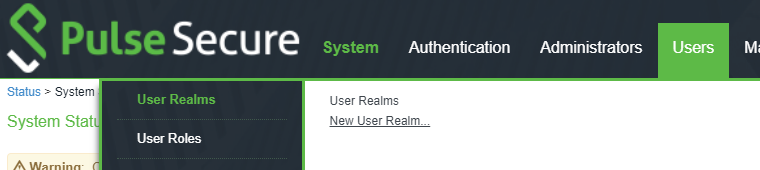
Creating a new user Realms
In the Users Menu at the top of the window, Select "User Realms" and "New User Realms..."
In the New Authentication Realm form:
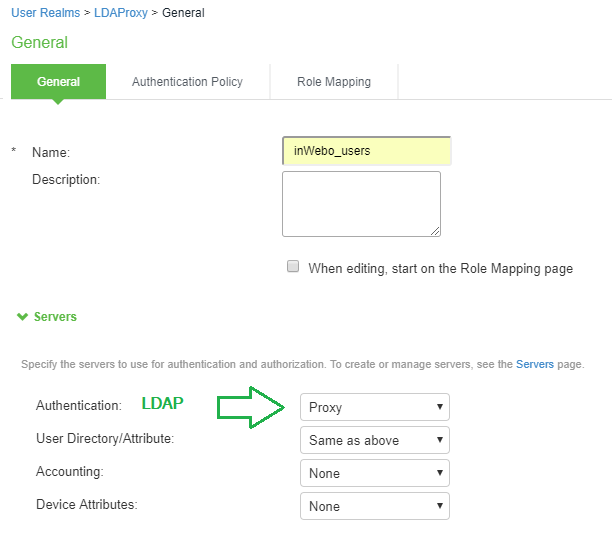
Indicates the information and the Authentication name of the inWebo LDAP Proxy server.
For users don't forget to create the right "Role mapping' to enable this access.
Click "Saves changes"
Creating the new Sign-in policy
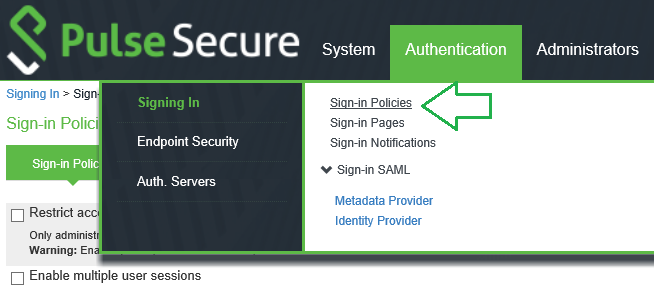
Creating a New URL for your private portal
Select "New URL..."

Fill the path of your authentication portal
Check "User picks from a list of authentication realms"
Select the Realm of your users
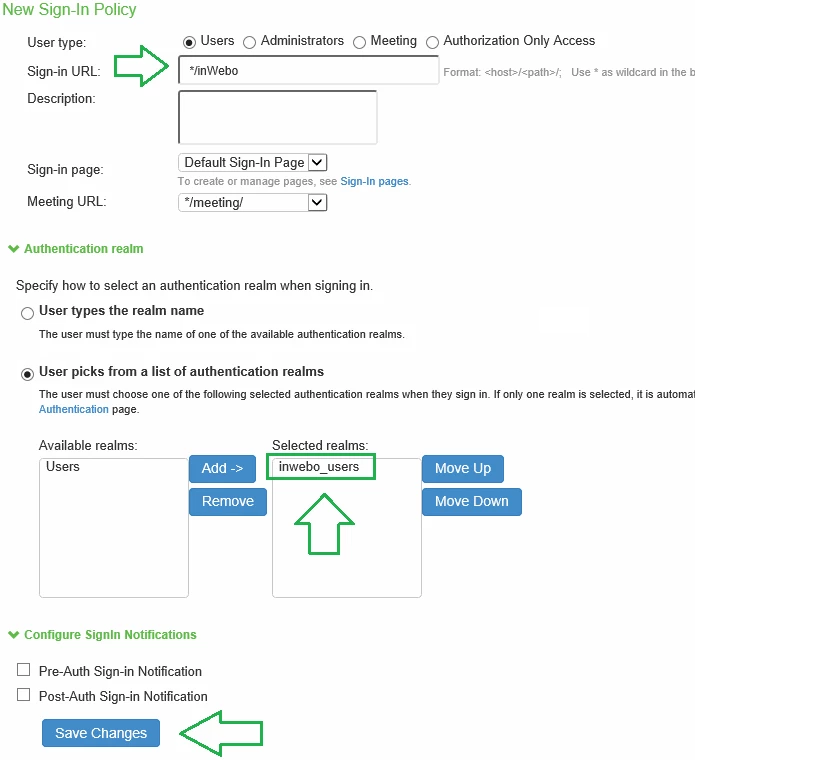
Click on "Save Changes"
inWebo LDAP Proxy authentication test
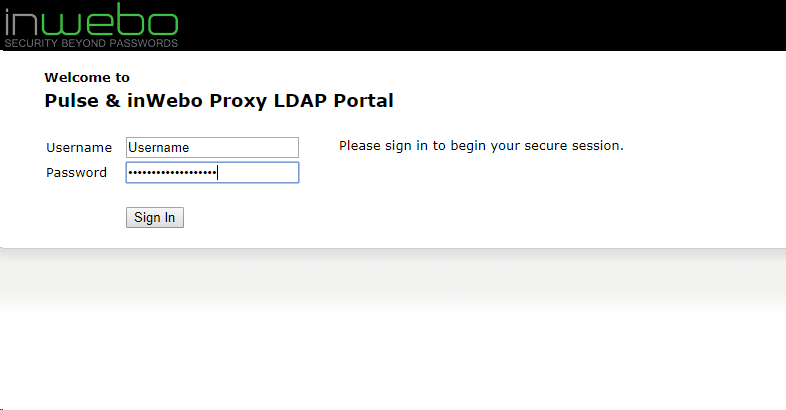 As soon as you enter your login and password in the Pulse Secure portal, | 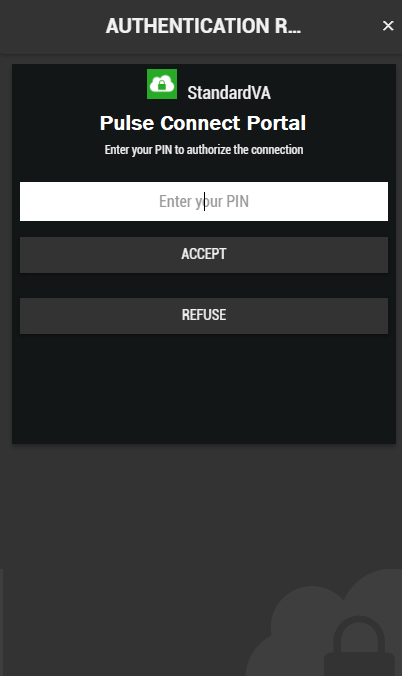 |
|---|